Creating a Continuous Placket
Ah, the button placket. It’s the reason many sewists refuse to sew woven dresses, and has probably been the inspiration for a trend I affectionately call the “knit dress movement”. Somehow, even equipped with all of the skills necessary to sew a garment, we must mentally prepare ourselves to sew up that woven dress, maybe working with a sense of impending dread.
I am here to tell you that creating a placket is simple, and if you try it once (in some cases twice), you will wonder why you put it off so long. This was true for me, as I was intimidated by it, as well. After a few practice runs, it becomes just another step that can be completed with ease.
The Opal dress has such a gorgeous silhouette, and the front bodice placket adds the perfect detail! If you have hesitated to make it, or any dress with a placket, let’s change that. Here are a few tips to make creating the front placket simple and easy.
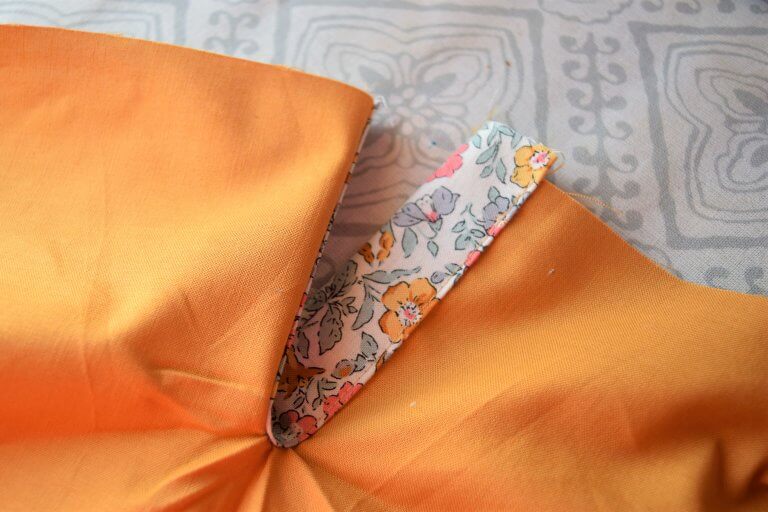
Face Up
Make sure your skirt piece is facing right side up. You want to see the front of the skirt as if you were looking at the finished dress. Then, slide your placket piece, also right side up, under the skirt placket slit. You should see both right sides of the placket and the skirt piece.
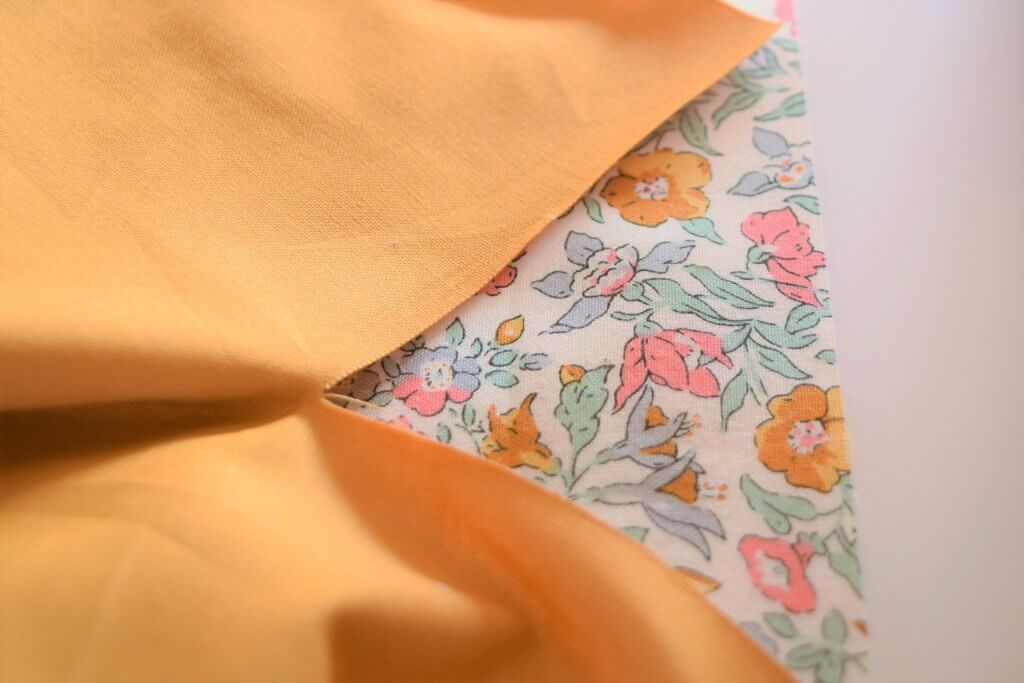
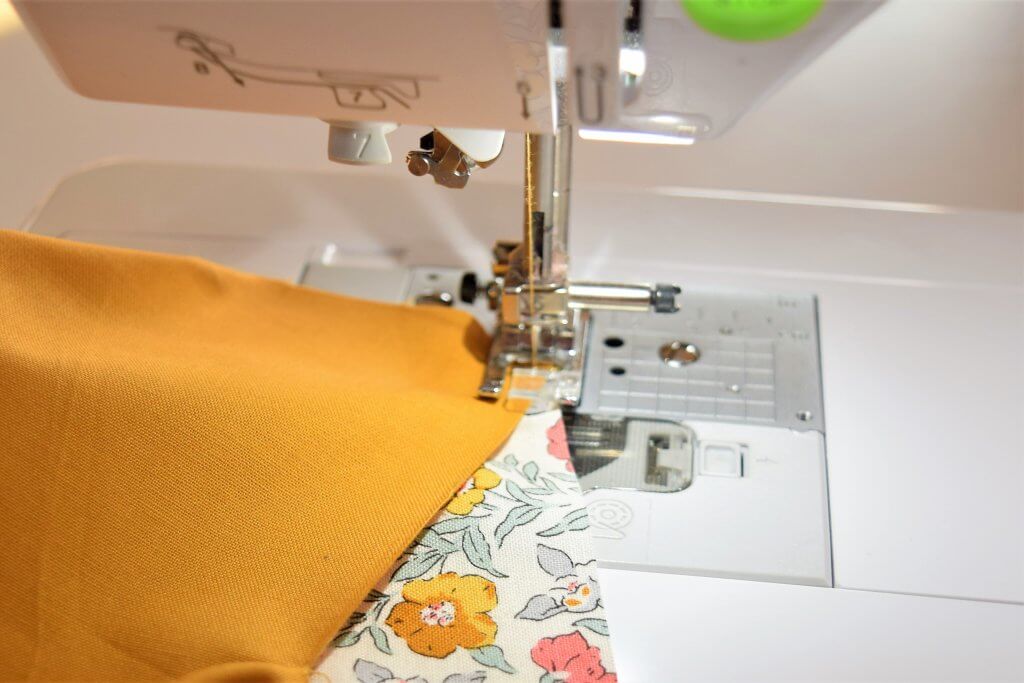
Watch Your Seam Allowance
Once you’ve taken your skirt to the sewing machine, sew the pieces together with a 1/8 inch seam allowance. This is very important, and here’s why: If you sew the pieces together with a larger seam allowance, the skirt piece will not stretch enough at the “v” to allow it to be sewn straight across the placket piece. When you go to iron the seam allowance, you’ll have a huge bunching of fabric right at the “v”, which will make your placket not lay correctly.
The Iron Is Your Best Friend
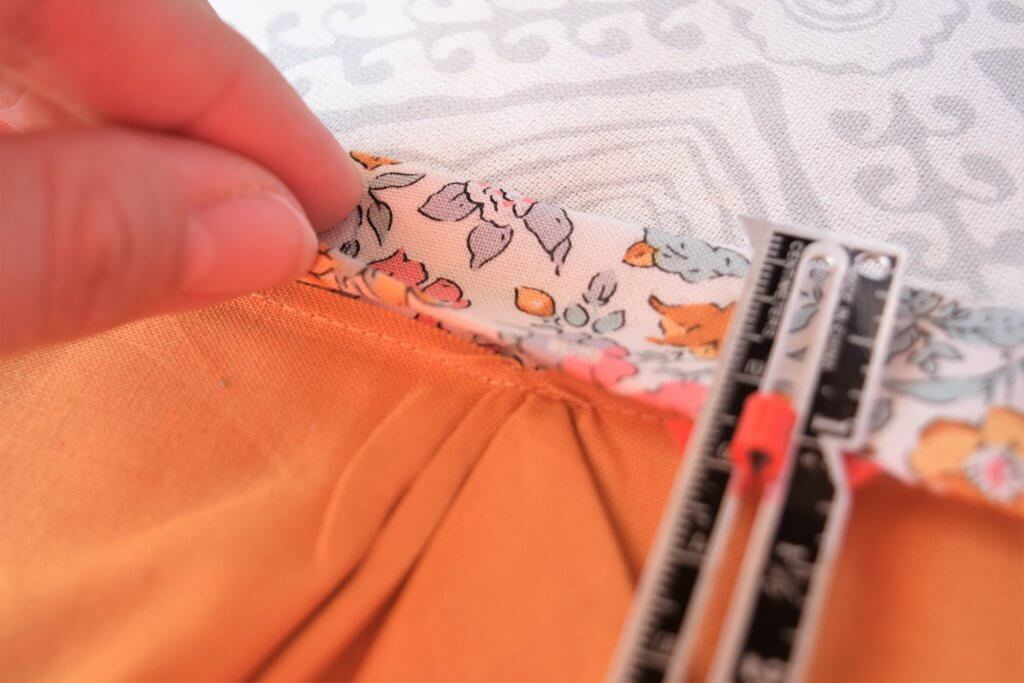
Don’t skip this step! Iron that seam allowance upward, toward your placket. There will be a tiny bit of bunch at the “v”, but this is the perfect time to make sure you didn’t accidentally catch too much fabric there.
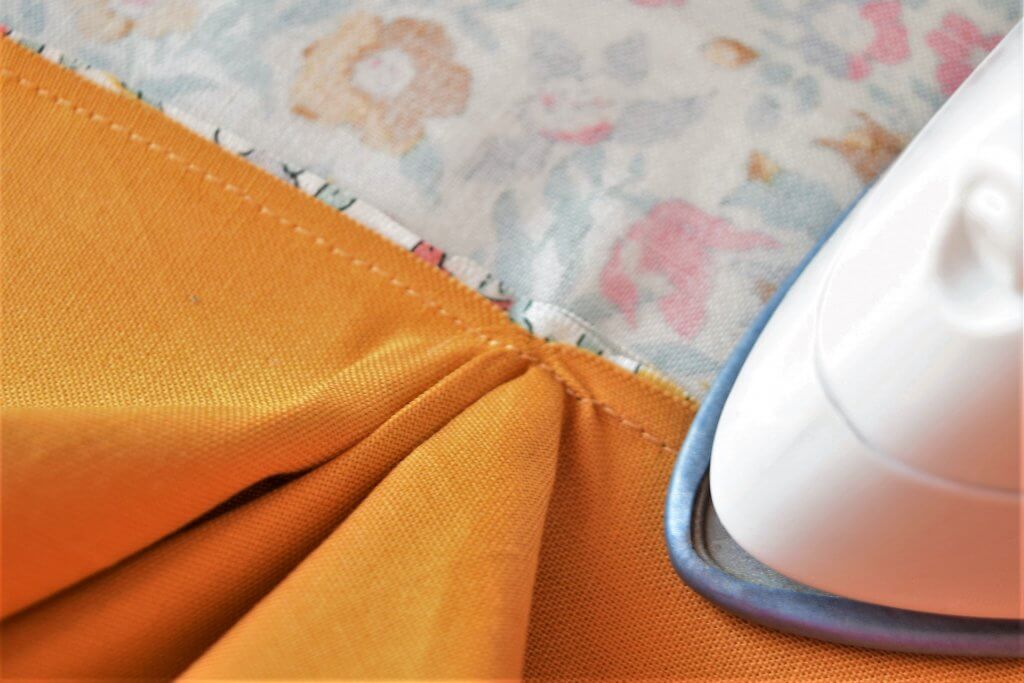
Measure Twice, Sew Once
Use your sewing gauge to ensure you iron the placket piece down exactly 1 inch, then again 1 inch. There should be a tiny bit of overlap of the seam, so once you sew the placket into place, it doesn’t show. Iron, iron, iron!
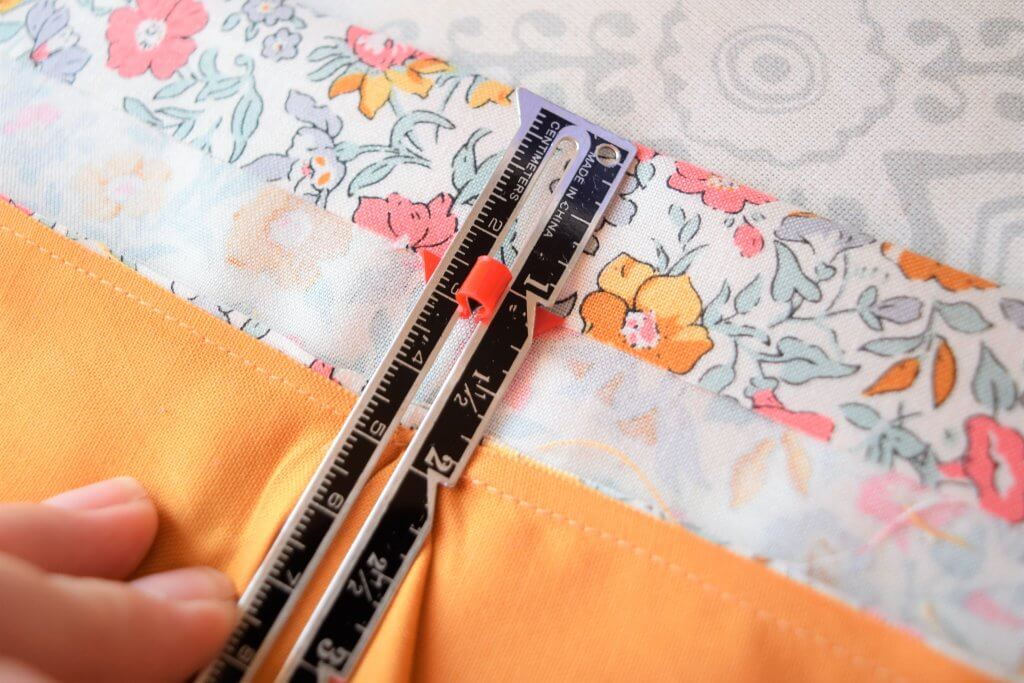
The Finishing Touch
Once you’ve stitched the placket to the skirt, head back to the iron. Lay your skirt piece right side up, and check your work. This is the time you attack that thing with the iron again, arranging your placket so that it is “hiding” behind your skirt. It will naturally do so, and viola! You have created your placket!
A Final Word
Plackets can actually be (dare I say it?) enjoyable, once you learn how! The most important thing to remember is to try it! Like many things in life, trying once might actually change your perception, and in turn, your sewing reality. I hope this was helpful, and maybe after this you might even be willing to tackle the other monster: buttonholes!
Happy Sewing!

Ready to try Opal? Get the pattern by clicking the button!
Tutorial Materials
Pattern: Opal by Vintage Little Lady
Bodice Fabric: Liberty of London, Forget Me Not Blue
Skirt Fabric: Robert Kauffman Solid Kona in Yarrow
