How to Make Fabric Covered Snaps

I am a fabric addict! I have fabrics in just about every color and theme you can imagine. Buttons are another story. I have some beautiful wooden buttons and for almost everything else, I use plastic snaps.
When I was recently making a beautiful Emilia maxi I was at the stage of adding buttons. The fabric was a gorgeous deep orange rayon and I could not find the right button or snap color to finish it off. The answer… fabric covered snaps!
This is a perfect way to dress up a basic snap, use a few scraps and finish an outfit with perfectly coordinated notions!
If you want to try it on your next sew, here is what you will need….
- Some plastic snaps in any color. This is a great time to use up those random extras that don’t have a match! I use size 20 KAM snaps.
- Scraps of fabric… about an inch square for each snap.
- Snap pliers or press
- Thread & needle
- Scissors
- A fabric glue stick
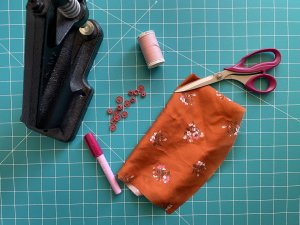
Firstly, cut some squares approximately one inch big for each snap.
Next glue the prong side of each snap to a square of fabric.
Trim each scrap of fabric leaving ¼ inch of fabric around each snap.
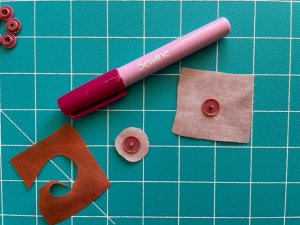
Next take your needle and thread and sew a running stitch (simple up and down) around the fabric.
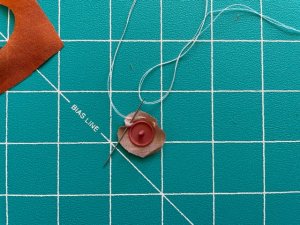
Once you reach the point where you started, pull on the threads firmly to gather up the fabric around the prong. Tie a few knots to secure your thread and cut off the remaining.
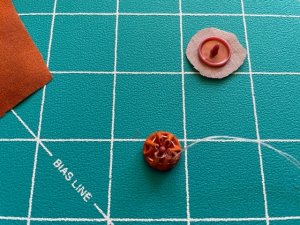
Now mark your snap placement as you normally would with a pen or snap awl.
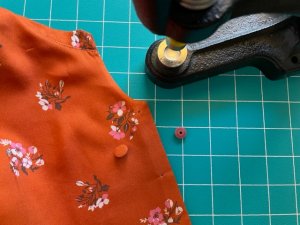
Push the prong through the fabric, match the female part of the snap and secure the snap with your pliers or press. The extra fabric will add bulk so you will need to press a little firmer than normal.
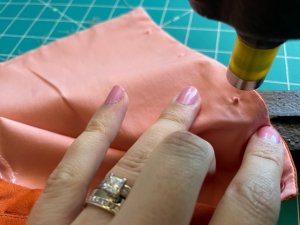
And you’re done.

Why not try adding fabric covered snaps on your next Vintage Little Lady project and don’t forget to share in our Vintage Little Lady Pattern Group on Facebook!
Happy Sewing!
With Love
Beck
