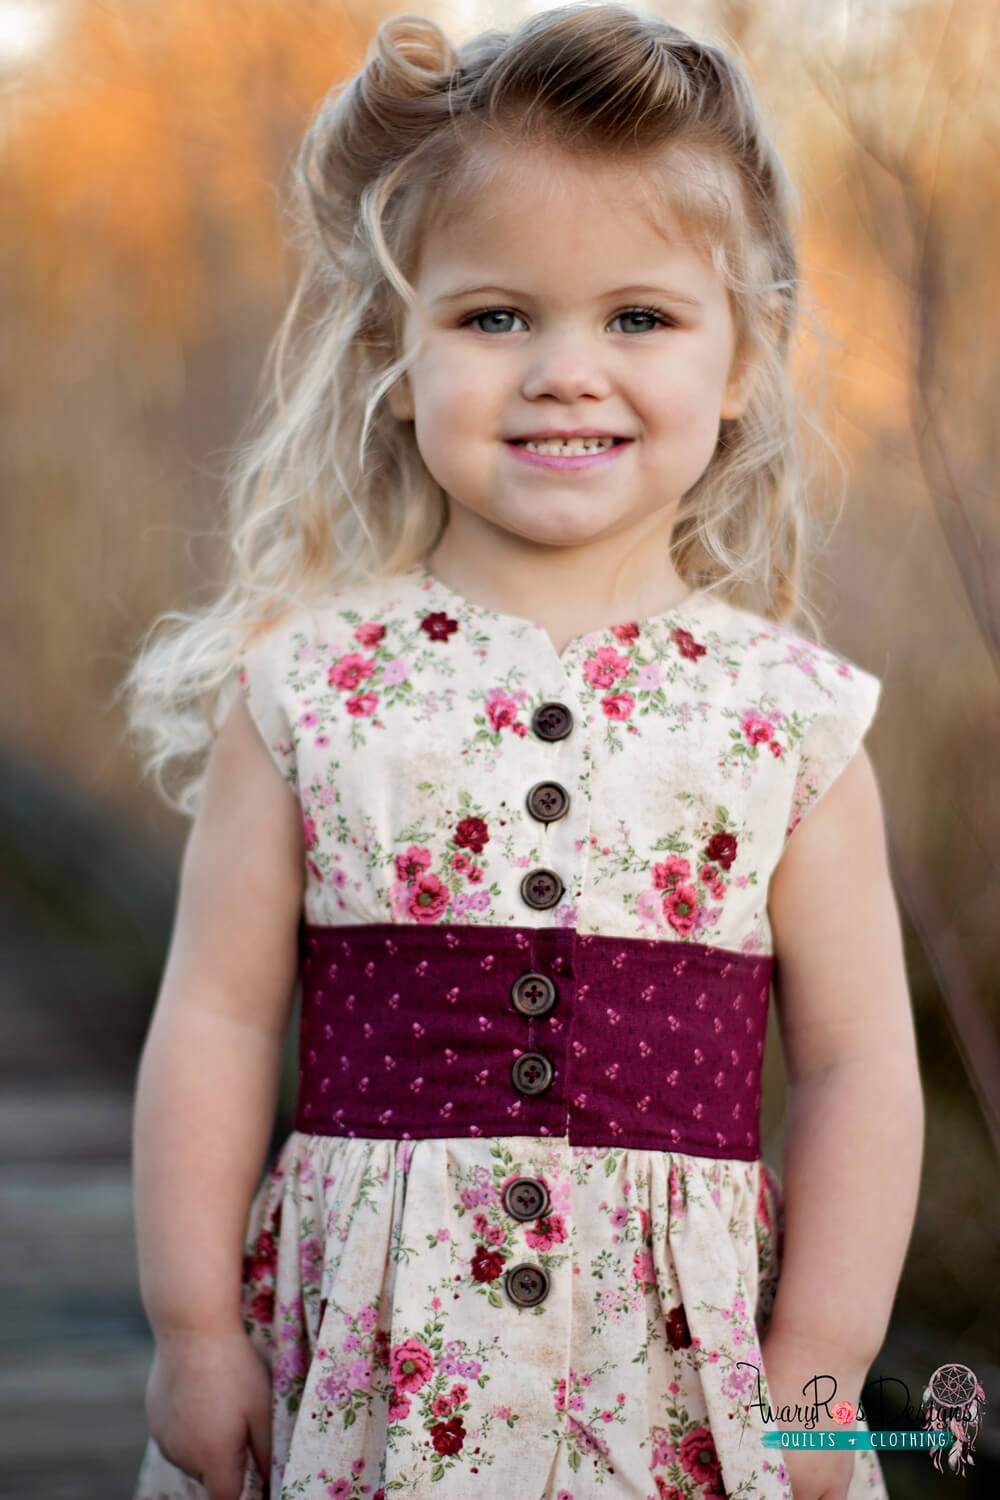
Gape-Free Placket Hack
Have you ever tackled a dreaded placket proudly only to find the finished dress has one of those slipped gaping plackets? You know what I’m talking about? That placket gape where you get exposed panties or back skin that no one wants seen on their littles.
Well then keep reading because I’m going to show you how to get a perfect gape-free placket every time.
Preparing The Placket
Take your continuous placket (Creating a Continuous Placket BLOG) and press everything with the iron so that your placket is beautifully flat.

 Choose which way your placket will open on the skirt and the bodice, they must match. Whatever side your placket will open on, you are going to fold the opposite side of the placket under the side of the placket that will open. This will bring the skirt fabric over the placket on the desired opening side of the placket giving you a “V”.

It is important to ensure that your top placket overlay fabric completely covers the placket underside so that you have a completed placket prior to securing it.
 A slipped placket will happen if your top placket piece isn’t fully covering the underside. You shouldn’t see any of your placket fabric from the outside of your garment.
Creating The Gape-Free Placket Hack
Once your placket looks as desired, from the wrong side of the garment pinch the placket inside together so that they are even.
 You are now going to take this to your machine, moving the skirt or garment out of the way and put a seam at the bottom of the placket only to secure it into place. You will stitch 1/2” up from the bottom of the placket.
 Make sure to stop at the placket stitch line otherwise you will see your placket hack on the outside of your garment, and you do not want to see anything on the outside except a clean, beautiful, seamless placket.


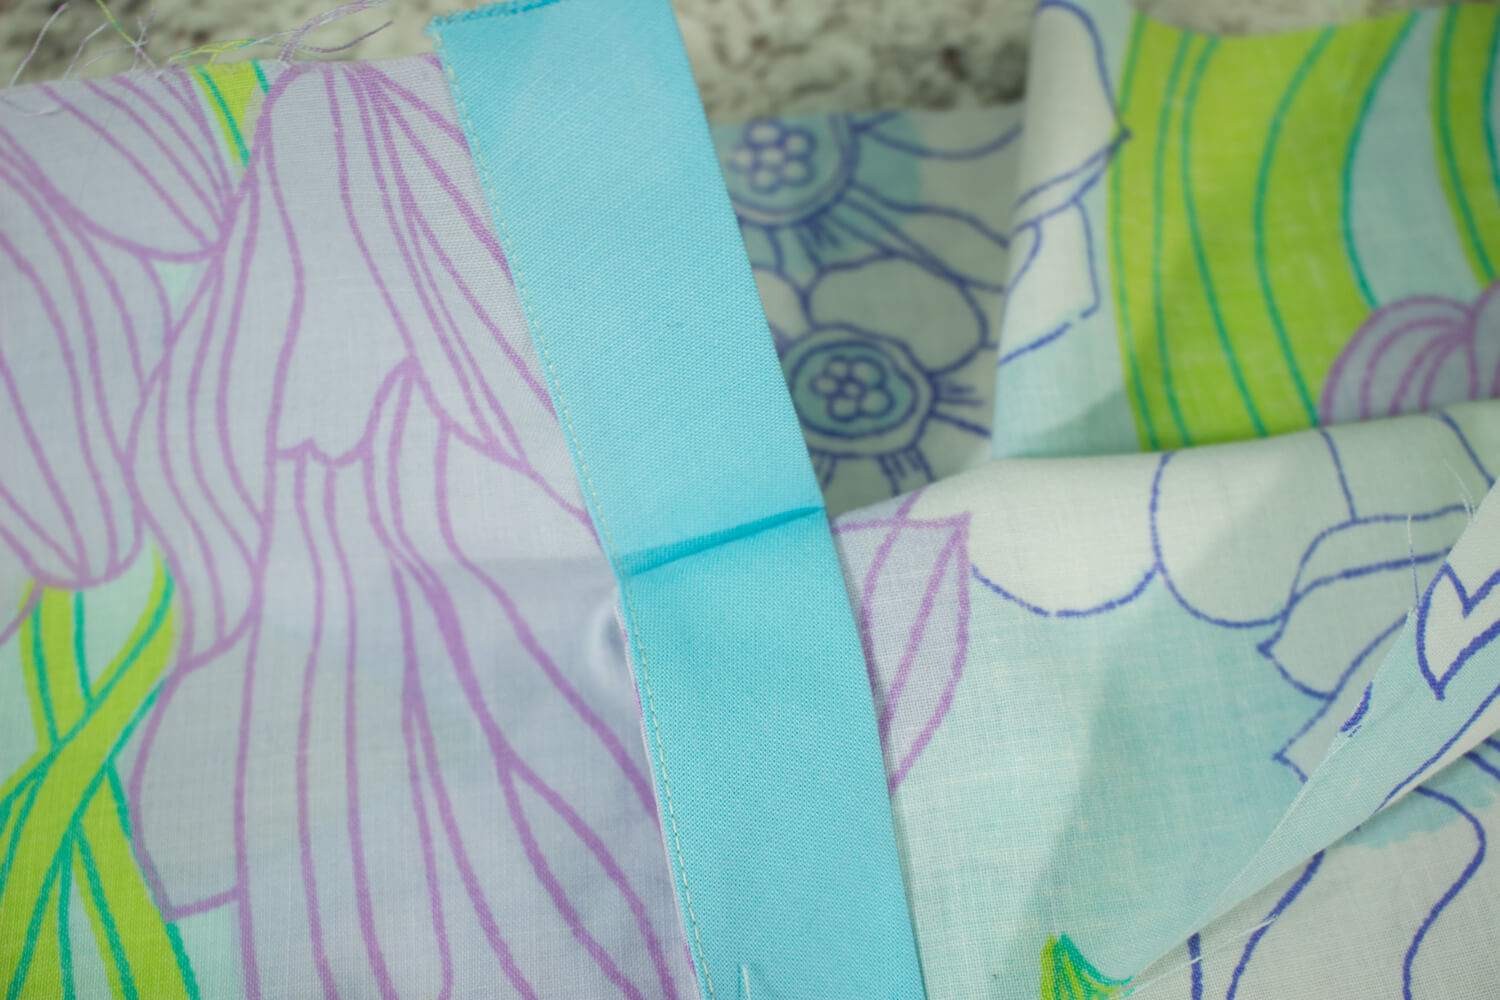 Once you have completed your placket hack, all you have left to do is to top stitch your top placket piece only to the skirt raw edge and then gather your skirt. Once you attach your skirt to the bodice, you will have a fully functional and perfectly clean gape-free placket. And who doesn’t want a perfect placket on a beautiful piece like Opal where the placket is front and center.
The Completed Look!
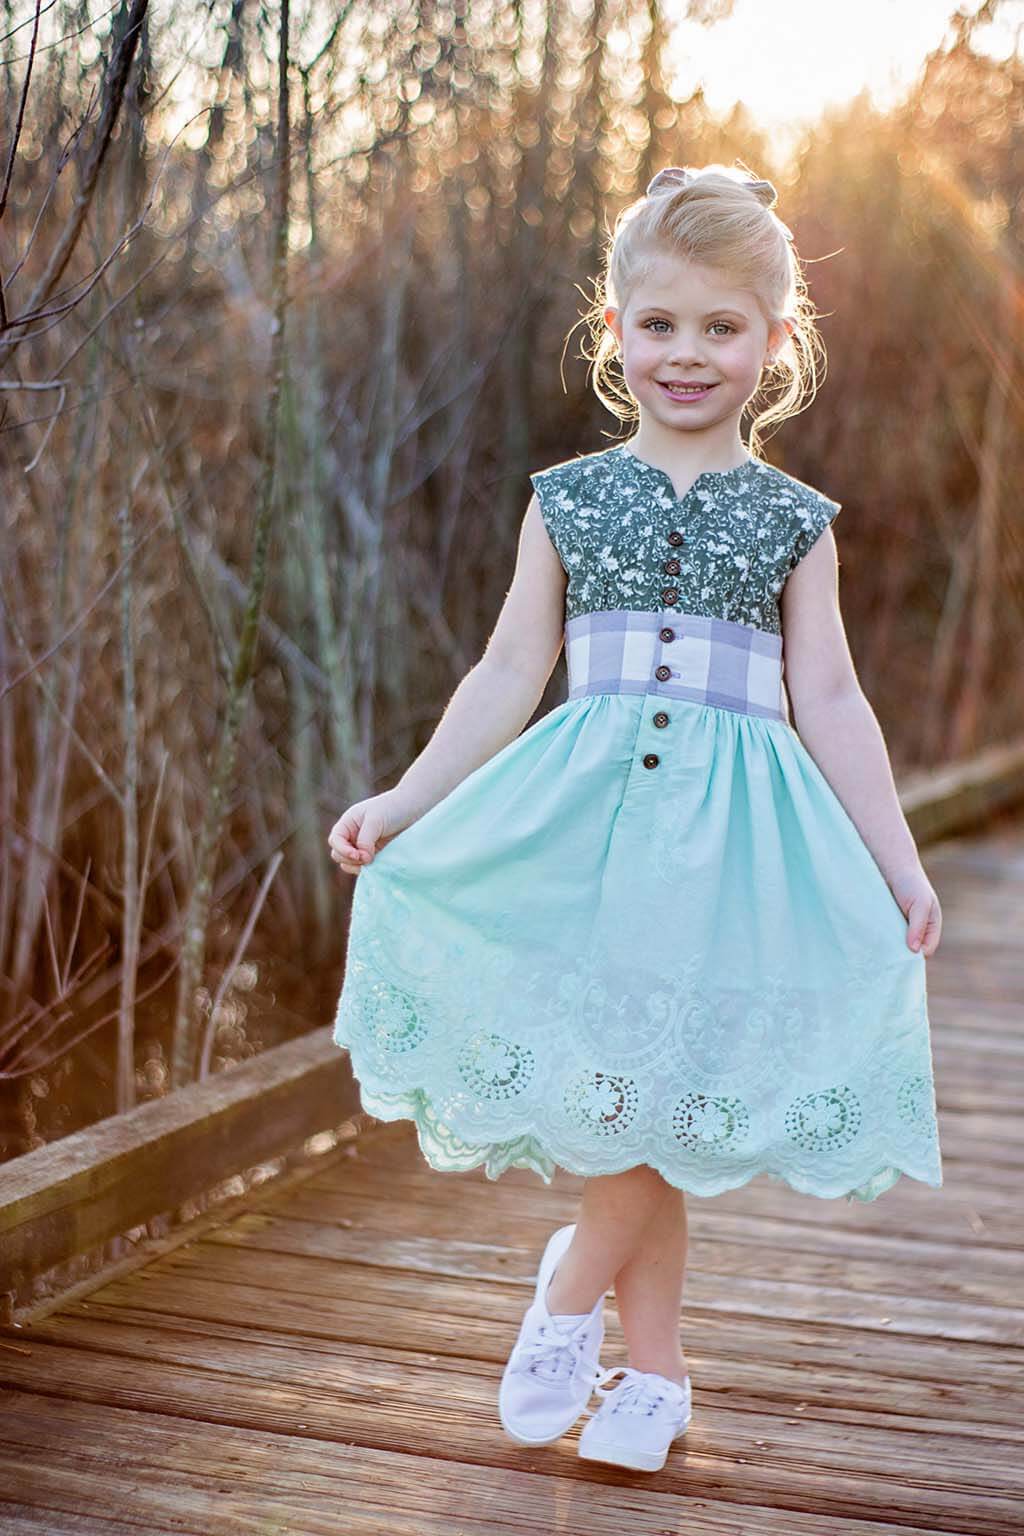
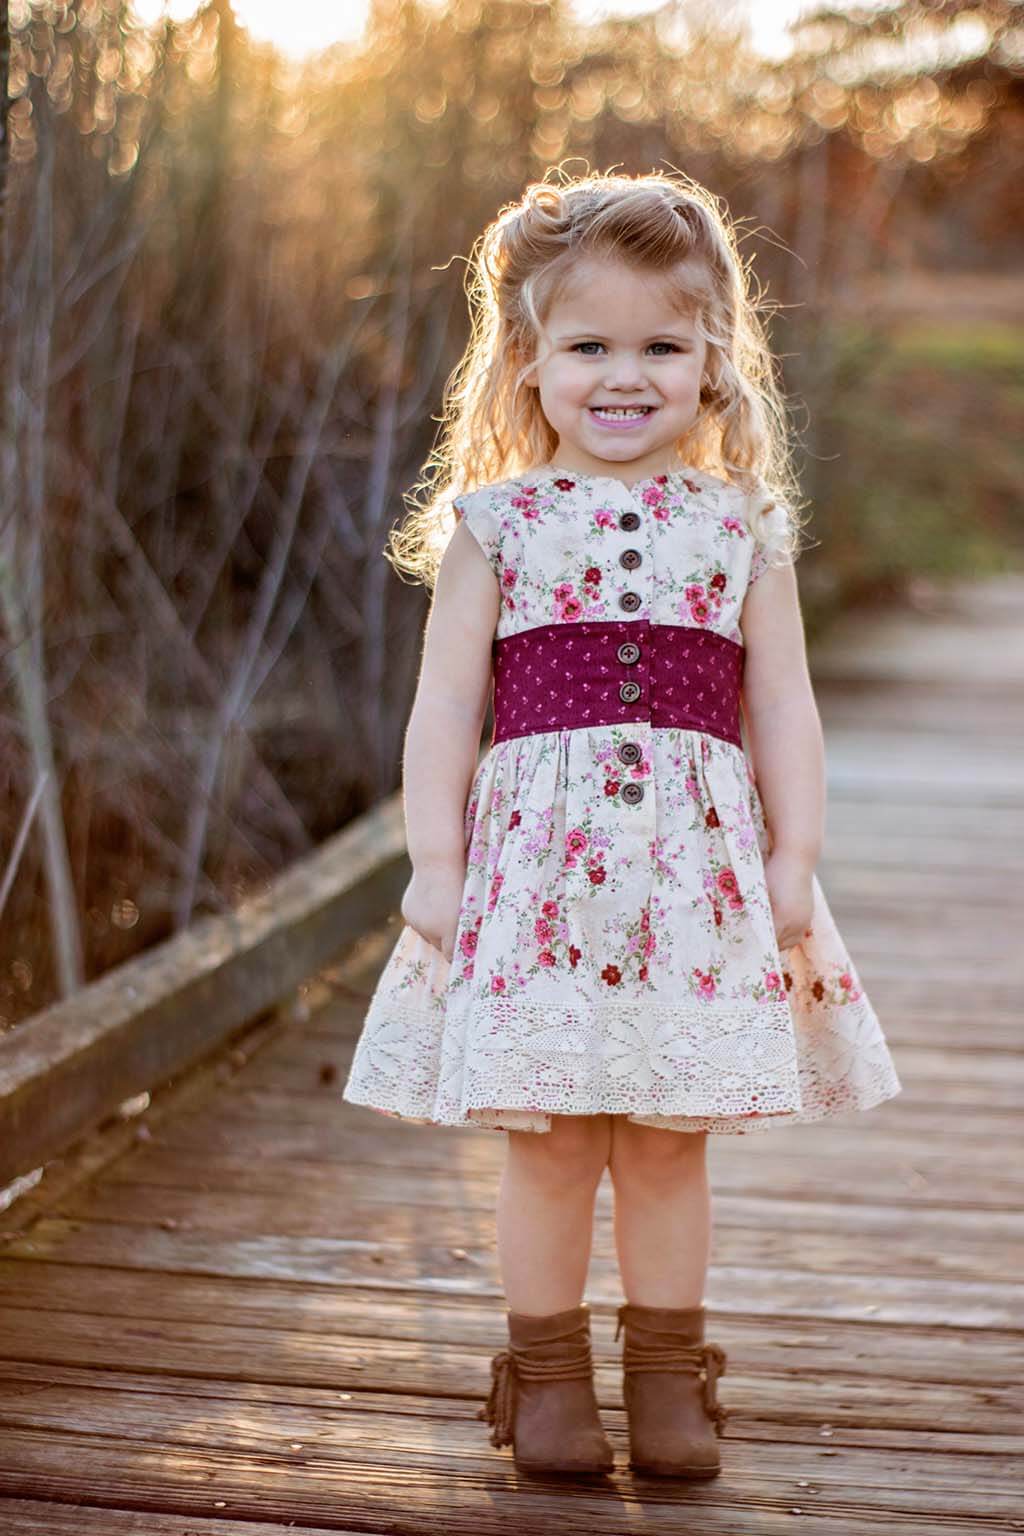
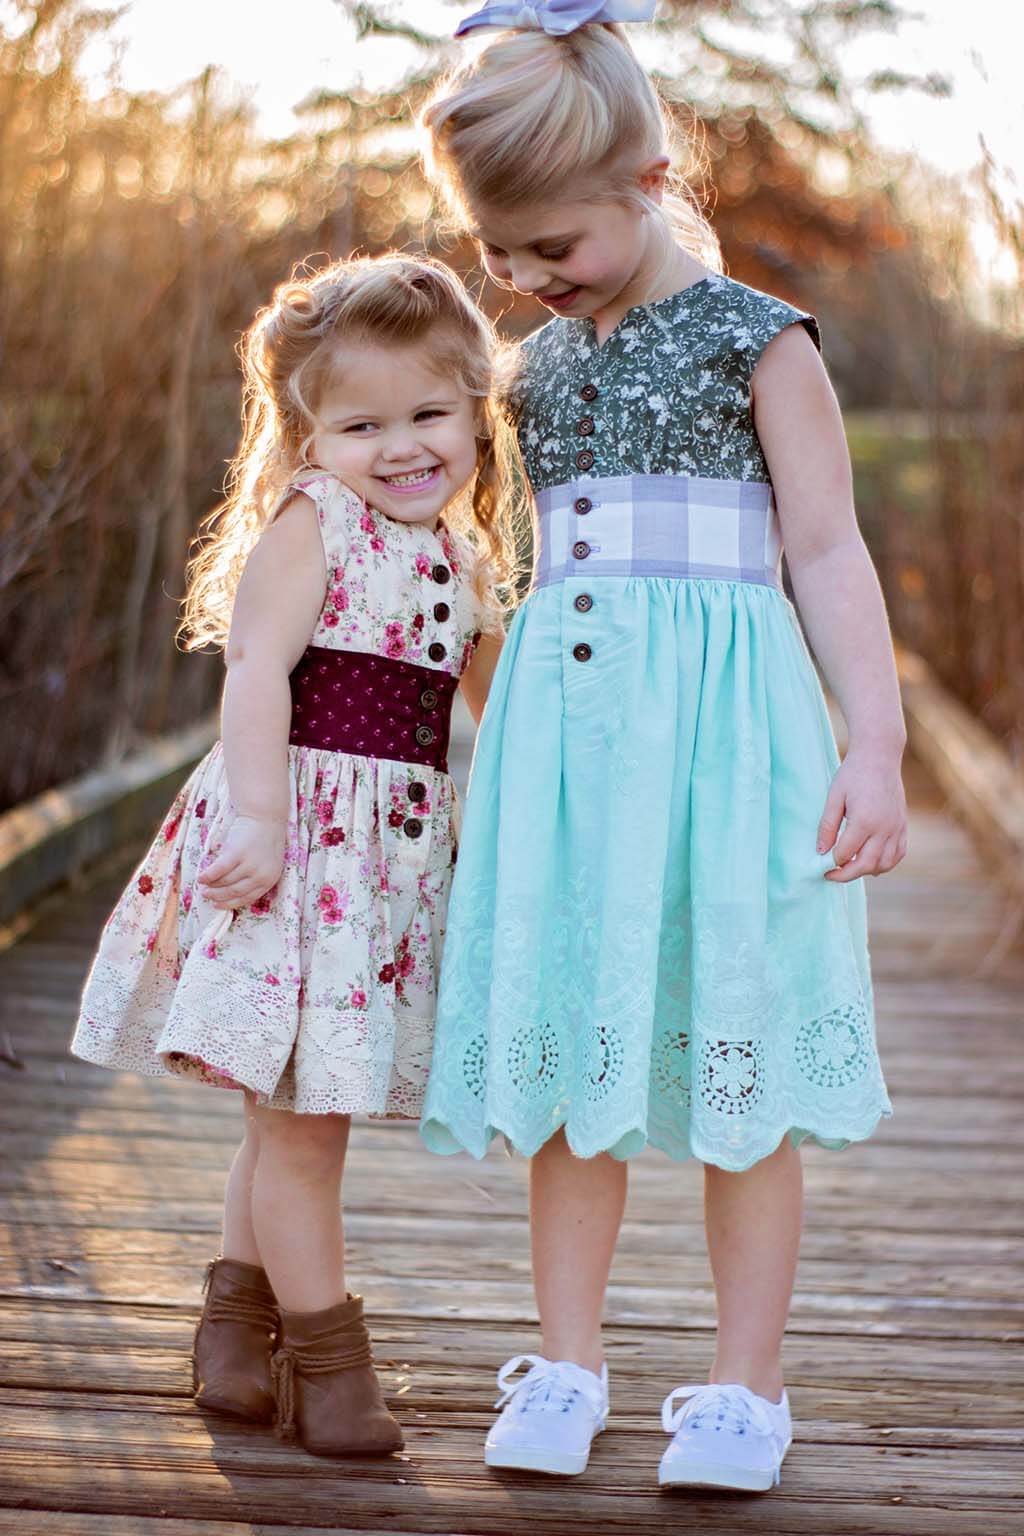

Happy sewing you guys… I can’t wait to see all the beautiful plackets, and I hope this will boost your confidence when tackling a placket going forward.
XOXO,
Lauren Sisk
