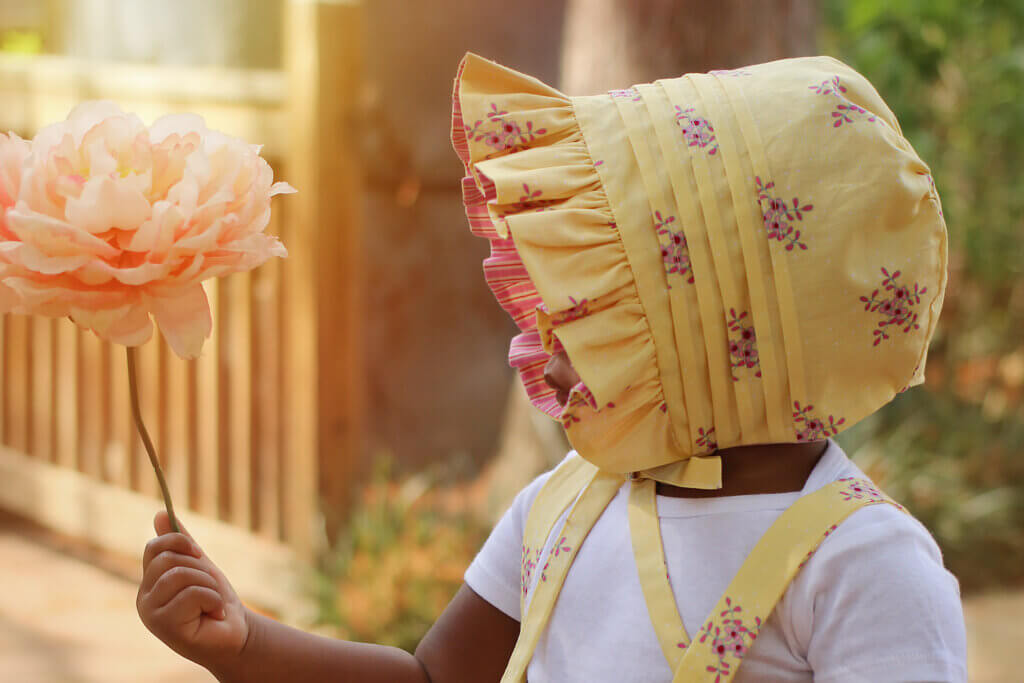
Pintucks – a beautiful design detail to add texture and interest to your sewing projects
Pintucks are a decorative element that can be added to your garments: skirts, dresses, tops, bonnets etc. They are a great way to bring a touch of fantasy and sophistication to a simple garment.
Pintucks are created by folding and stitching the fabric on the right side (like a pleat) and are usually created in a group, parallel to each other. Sewing a pintuck doesn’t take very long and with a little creativity and imagination you can use pintucks in hundreds of different ways.
Ready to start learning how to sew a pintuck?
You will need:
-Fabric of your choice. The best fabrics for sewing a pintuck is light to mediumweight.
–Fabric marker or chalk
-Straight edge ruler
-Optional – 1/4″ presser foot or seam guide foot. This will make it easier to sew a straight line for your pintuck, as they have a guide that runs along the edge of the fabric as you are sewing.
You can add pintuck to any pattern piece. The easiest way is to sew the pintucks on a large piece of fabric first before cutting the actual pattern piece.
Start off by deciding the width and number of the pintucks you would like to add. Then decide on the width you would like between each finished pintuck. You can have them completely overlap each other or you may want a nice space between the pintucks.
In this tutorial we will create 5 pintucks, 1/4″ wide, 1” apart. These are my favorite!
NOTE: Take into consideration any seam allowance, hemming, trim width etc before placing the first line for the pintuck.
On the right side of the fabric draw the first line for the pintuck. Next, measure 1” from the first line and draw a second line.
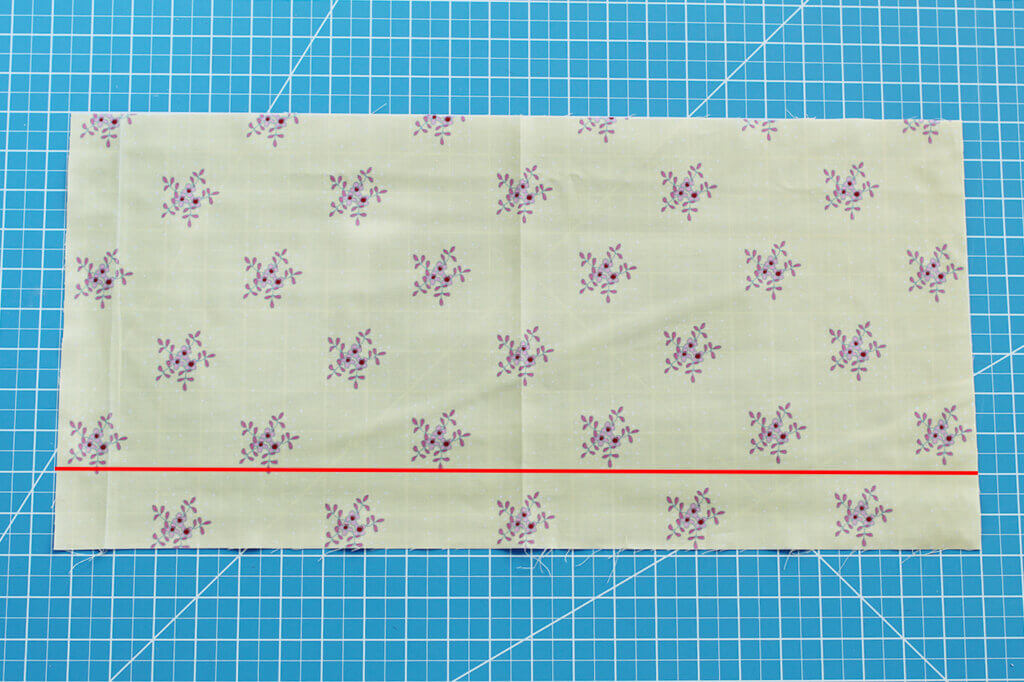
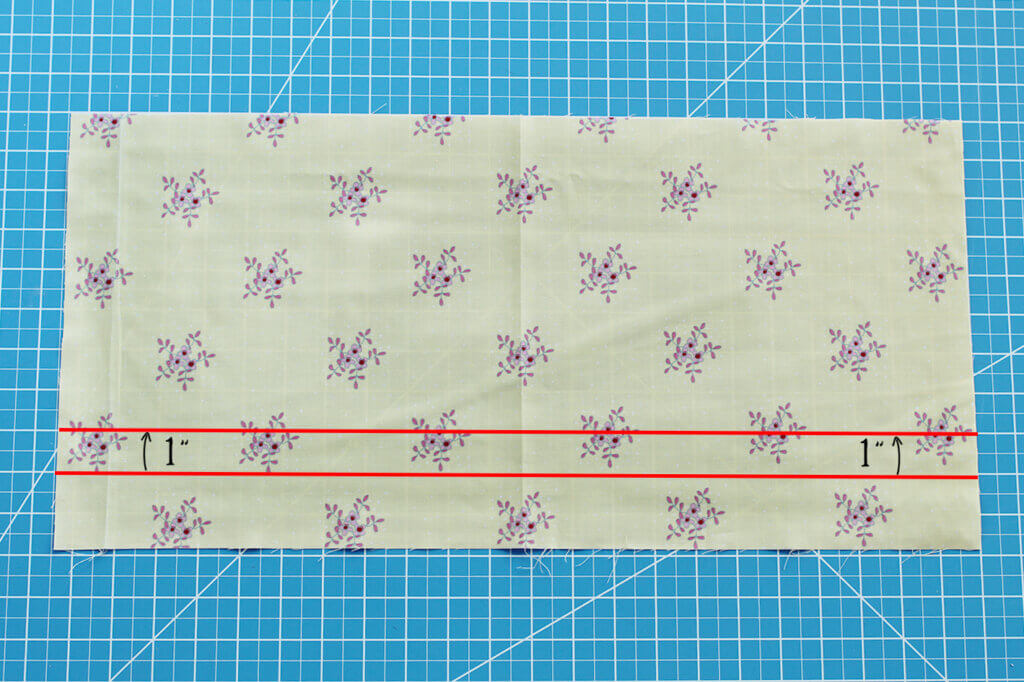
Repeat 3 more times. Your fabric piece should have 5 lines for 5 pintucks.
NOTE: If you are working with a delicate lightweight fabric we suggest to use a simple baste stitch instead of chalk or marker.
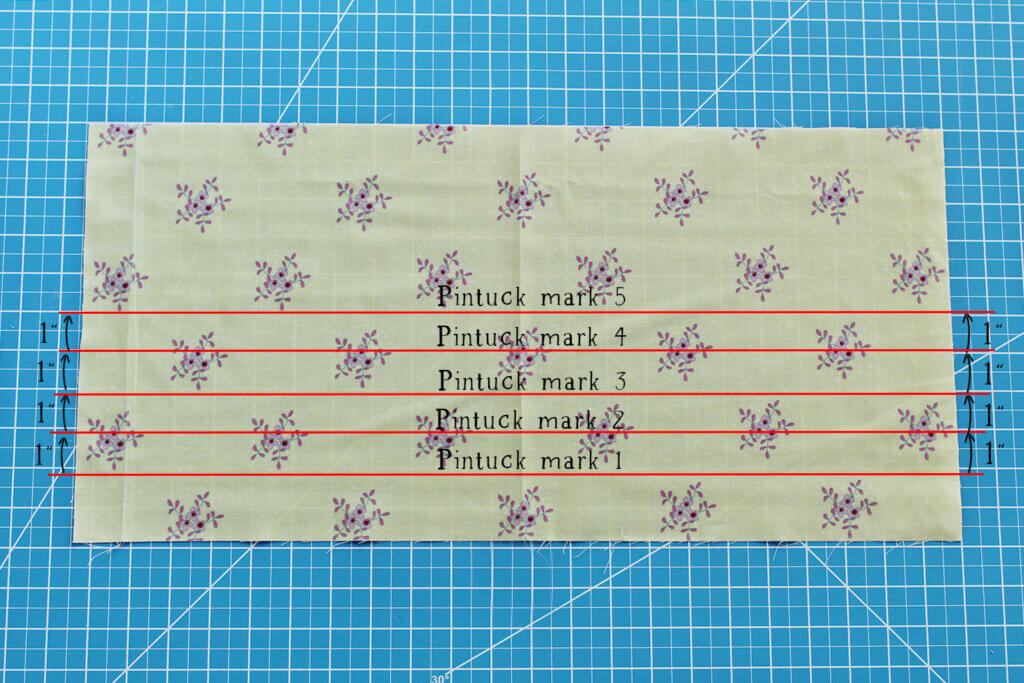
Fold the fabric along the first line with the wrong sides touching and press. Sew along the fold with 1/4″ from the folded edge. Iron pintuck downward.
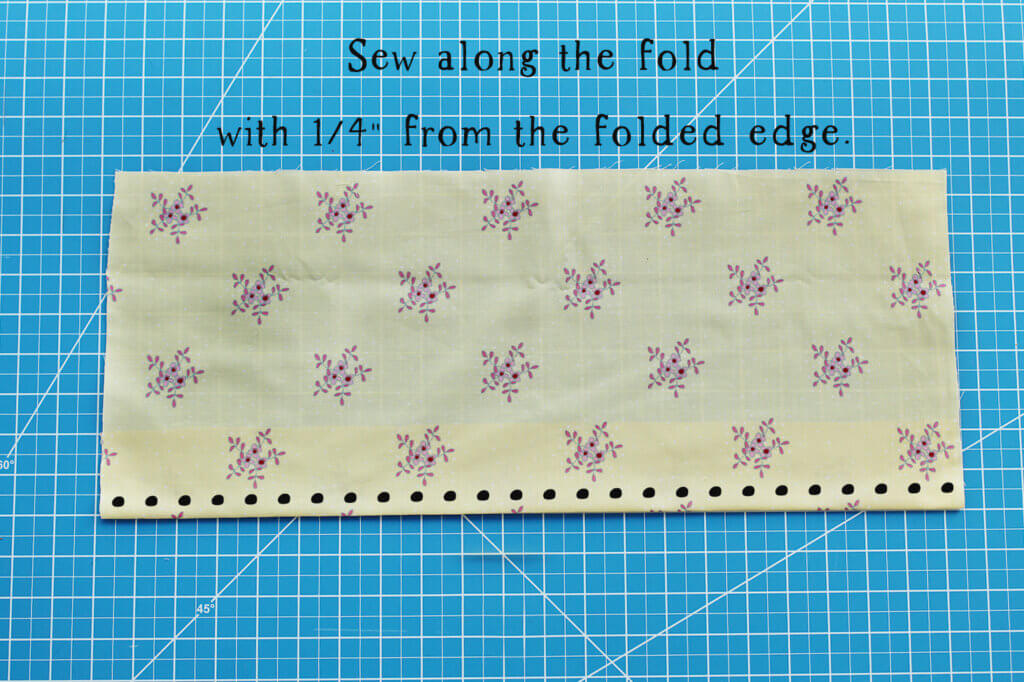
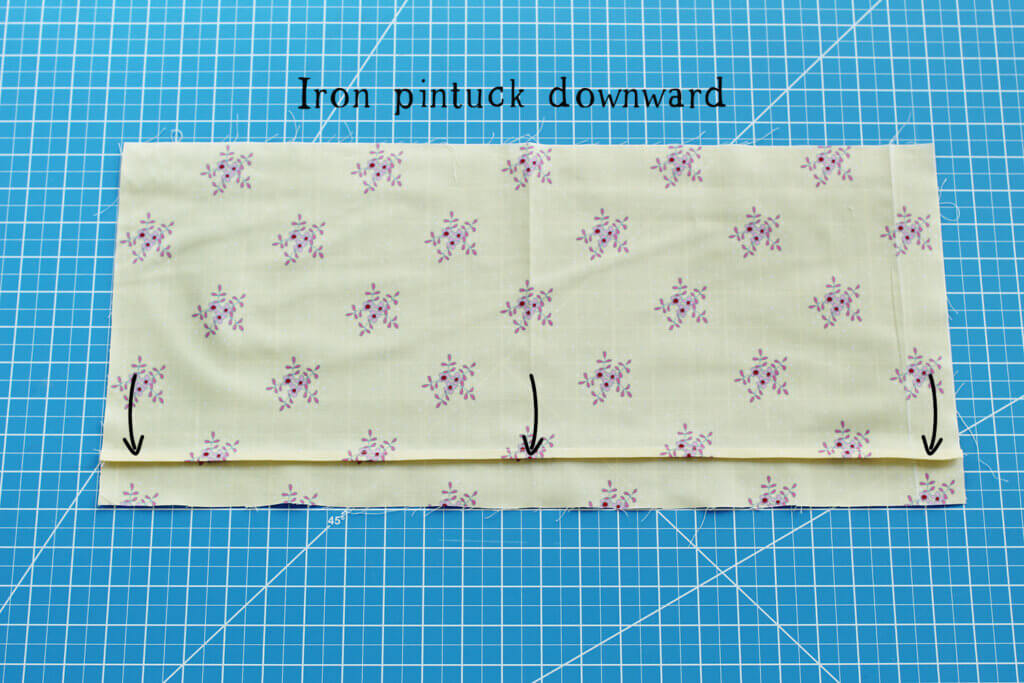
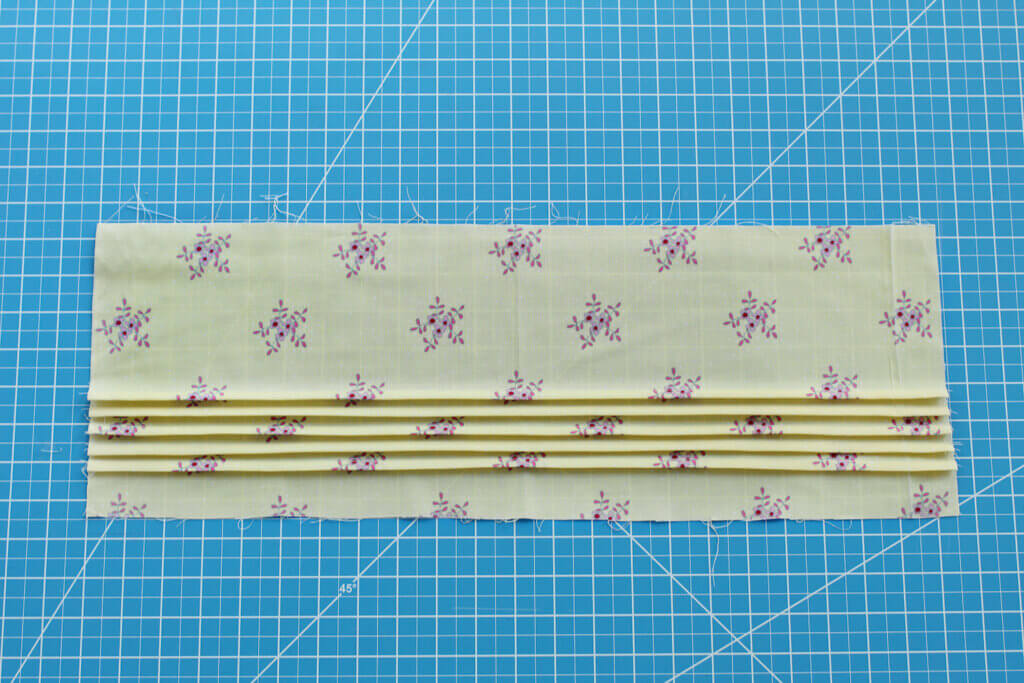
Repeat with 4 other pintucks. Ensure to press all the pintucks to the same side. Your finished pintucked piece should look like this:
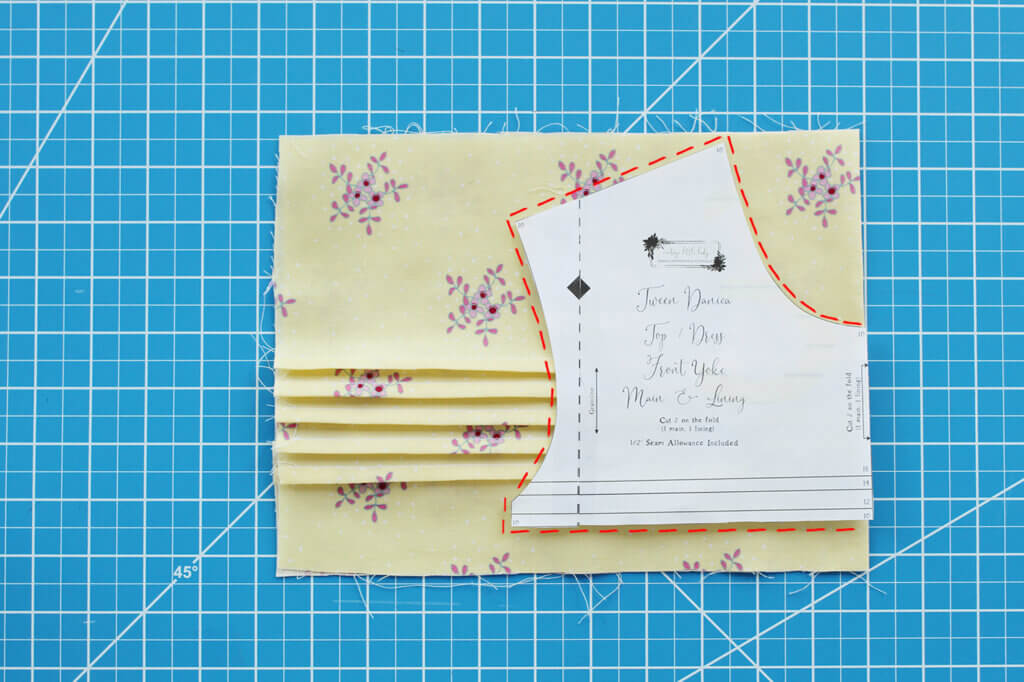
Take your pattern piece, place it on the pre-pintucked fabric, pin in place and cut the fabric along the edges. Your pattern piece is finished.

You can also add your choice of trim or lace to the back of each pintuck. Simply tuck the trim under the pintuck and sew in place.
NOTE: When marking the pintuck the width of the lace / trim should be taken into consideration.
Pintucks have a charm about them. We hope you found this tutorial useful.
Now that you have learned this new technique, you can practice by adding pintucks to your favorite Vintage Little Lady patterns.
Have you made pintucks before? Are you surprised they are relatively easier than you thought? What will you use them on next?
With Love,


