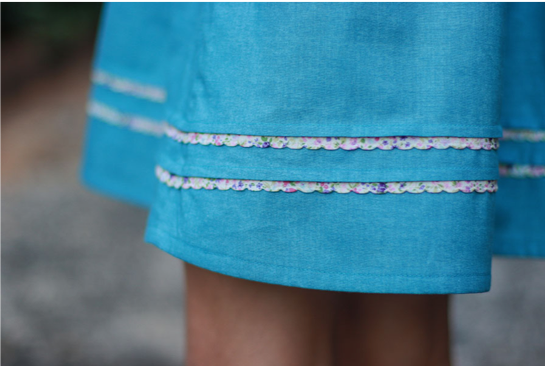
Scalloped Bias Tutorial (Shell Tuck)
Have you tried making your own vintage trims? It is easier than you think!!
This tutorial is about shell tucks, also known as scallop tucks. They add a sweet delicate edge to hemlines, collars and edges. In this case I have used the method on bias tape to create a trim. I have found the stitch works best on lightweight fabrics. This is a cotton lawn. It is also great on poplin.

First I create my own single fold bias tape by cutting a strip of fabric cut on the bias. It can be whatever width you need for your project. I have used 1 inch. Next, fold and iron the bias in half.


I have a Janome, but quite a lot of machines will have a blind hem stitch.
I can use a width up to 7. The higher the width, the deeper the scallop, the smaller, the narrower.
The stitch will look slightly different on each brand and model. The stitch may even be in reverse to this. This is what the stitch looks like on my machine…

You don’t need a fancy presser to sew this trim. A standard foot or zig zag foot is perfect. As long as it has a wide enough opening for the needle to move and create a wide stitch.

Experimient with your machine to get the desired result but for me, I turn the tension to max!

Now you are ready to sew. We are sewing on the folded edge. Line your bias up under the presser foot so that the needle drops approx. 1/8 of an inch off the edge as you stitch. This is what will create those lovely scallops.


That’s it! Happy Sewing!!


