Fabric Organization Made Easy
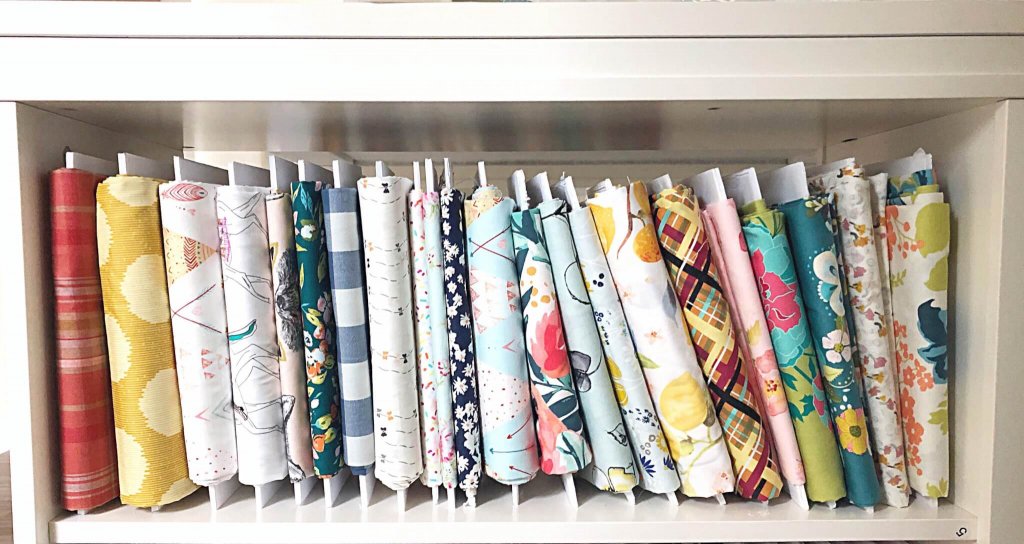
Whether you are a beginning sewist, or a have been sewing for years, chances are you have a nice selection of fabrics stashed somewhere. If you are anything like me, the excitement of finding and collecting new, beautiful fabrics can be a hobby in itself, with shelves, drawers and closets paying the price for our little collections. Or, perhaps your collection isn’t so little, and it is starting to overwhelm you. Never fear! Today I want to discuss a simple method of fabric storage and organization that can completely transform a shelf into something beautiful to behold. After all, we purchase gorgeous fabrics because they are lovely to look at, so why not store them in a way that is also pleasing to the eye?
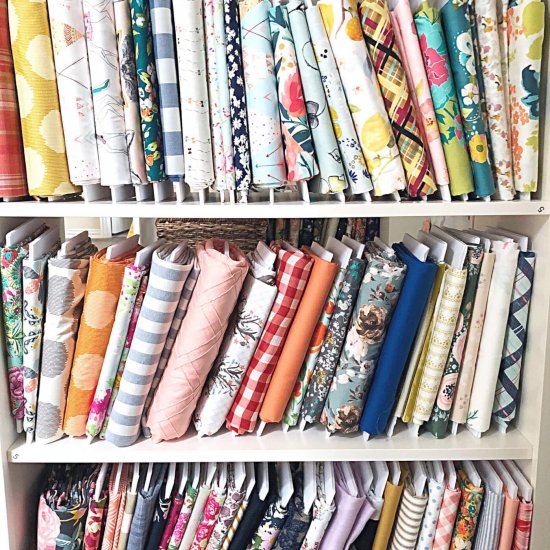
Planning Your Storage Space
- Where will you store your fabrics?
- What types of fabric are in your collection?
- How much fabric do you have?
The answers to these questions will all influence your plans for your storage space. For example, if you store your fabrics in a bin in a closet, the dimensions of the bin will determine the sizing of your folds (more on that shortly). Also, you may want to change the storage location of our fabrics to accommodate a more inspiring layout, or just to allow you to have more space.
The types of fabric that you have will influence storage quite a bit. Do you have mostly quilting cottons, or do you prefer knits? Do you have a mixture of both, or maybe you use alot of special occasion fabrics and lace? Also consider the widths of your fabrics. When you begin sorting, it is a good idea to separate the types of fabrics into categories to more easily see what you have.
How much fabric do you have? This is the question that probably results in the most emotional response. “I have some, but not as much as some people.” “Well maybe I have quite a bit, but I have a plan for each piece. I just need the time to get to it!” and my personal favorite (because this is me sometimes), “Yeah, so what I have a bunch of fabric, and I will be buying more if I want to.” Regardless of your response (and no judgement, here!) take a moment to determine whether you will want to purge your collection. As you are organizing, you will probably do this naturally on a case-by-case basis, but for truly amazing results, it is best to make the decision in the planning stage, so you already have made up your mind before you start browsing your pretties!
Tools and Materials
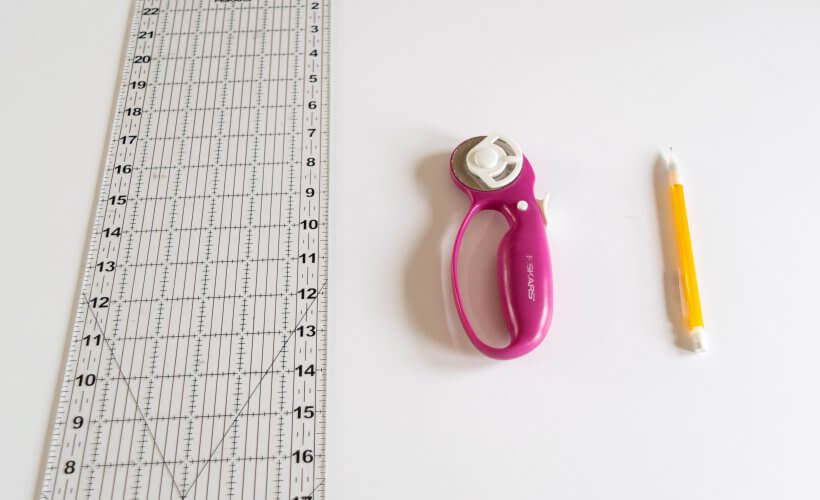
Now it’s time for the fun part! Gather your tools and fabric. You will need a ruler, preferably a long fabric ruler, pencil, rotary fabric cutter or exact-o knife, and some white foam boards. We used 20×30 inch white foam boards from Walmart.
I will include a link to purchase these at the end of this post, but the cheapest place to buy white foam board is in-store at Walmart. They are about a dollar each in store. You can find them in the office supply/school project section, near the tri-fold boards.
Making Fabric Storage Boards
Measure the height of the shelf or space that you will be storing your fabric, to make sure your boards will fit. If you want a snug fit or have an odd height shelf, you may need to adjust these measurements to accommodate that. Also measure the depth of the shelf or space. You will want to allow a few inches for the folds on fabric on the boards. For example, the depth of the shelf is 10 inches, we will make our boards 6 inches wide to allow for the fabric folds and so our board does not overhang the shelf.
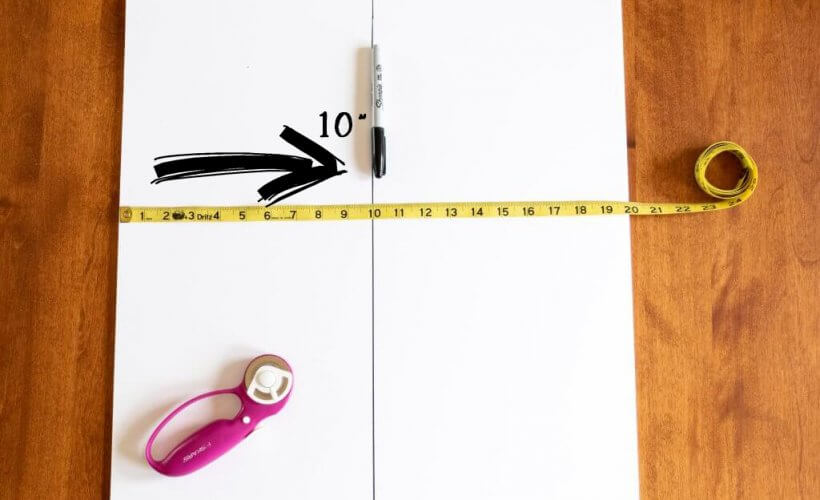
Take your 20×30 inch foam board and draw a line down the center, so that you have divided the board into two 10-inch halves.
TIP: If you need to adjust these measurements, try to adjust them to fit evenly on a foam board, so that you can get more pieces from one board. For example, for the shelf in the photos, we cut a white foam board so that we cut 10 pieces per sheet.
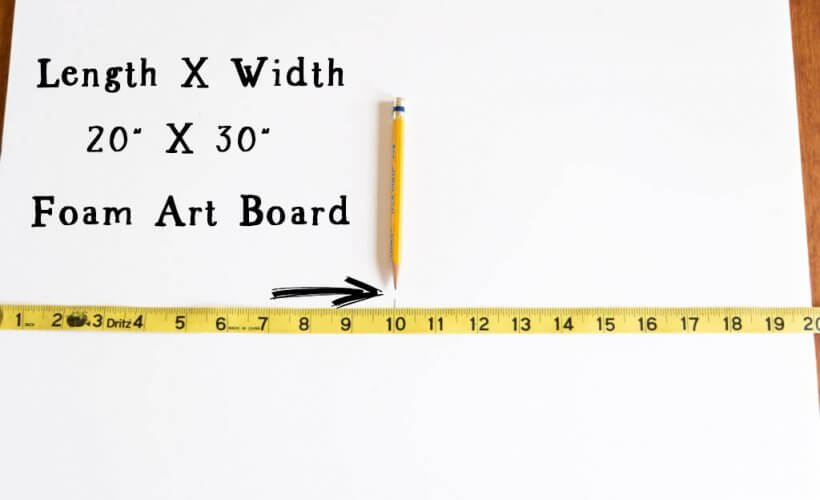
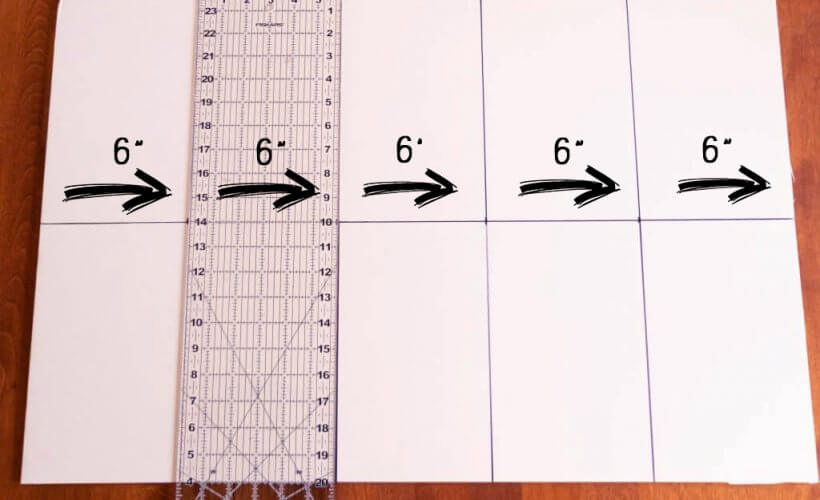
Next, mark every 6 inches across the width (widest part) of the board. Use your ruler to draw 5 lines across your board, which will leave you with 10 rectangles, each measuring 6″ by 10″.
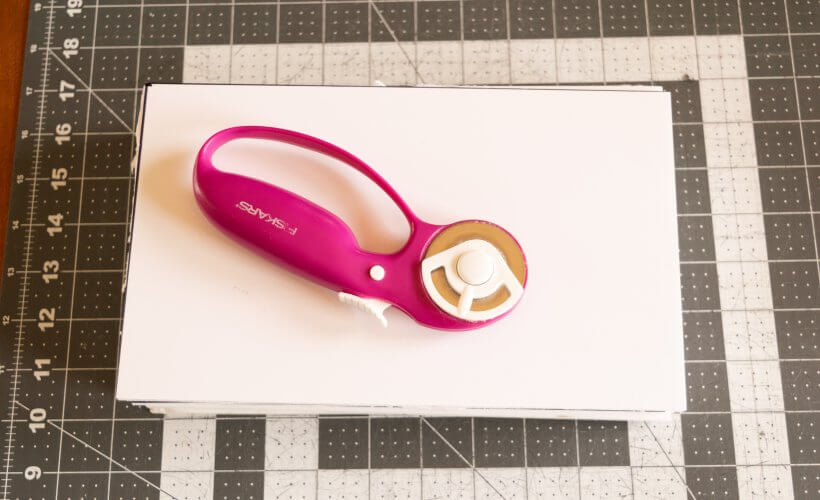
Using the rotary cutter, score all lines. Turn the board over and finish cutting the lines. You now have 10 fabric folding boards! Repeat these steps until you have enough fabric folding boards for all of your fabric.
Fabric Folding
The way you fold each piece of fabric will depend upon the width of your fabric, and you may have to play with the folding until you find a good width. The key is to keep all fabrics folded to the SAME width, so you end up with all mini bolts being a uniform height.
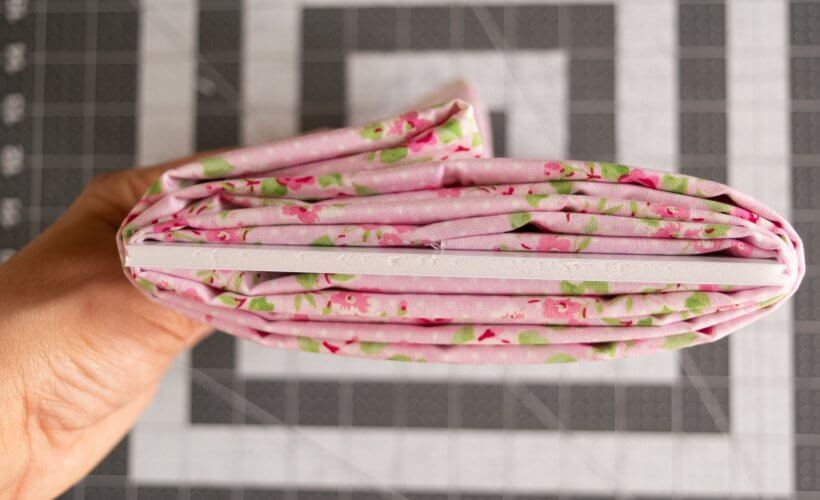
NOTE: Make sure your fabric is about an inch narrower than your board, so a bit of the foam board sticks out at each end when you are finished wrapping the fabric around it.
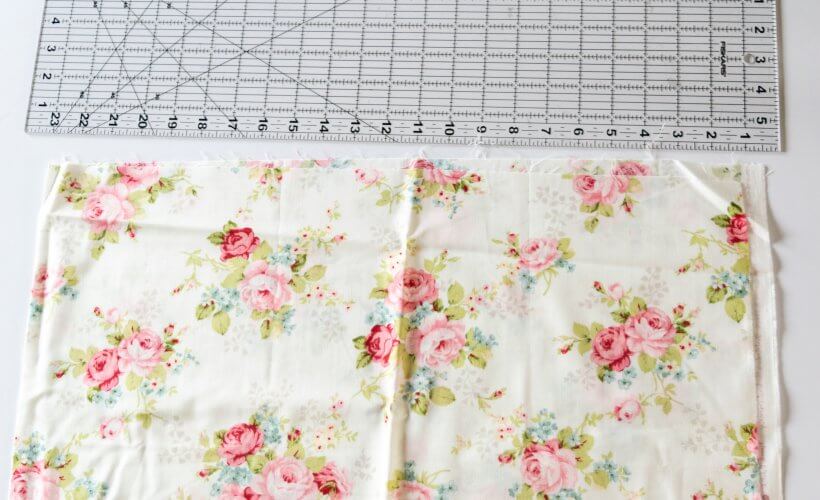
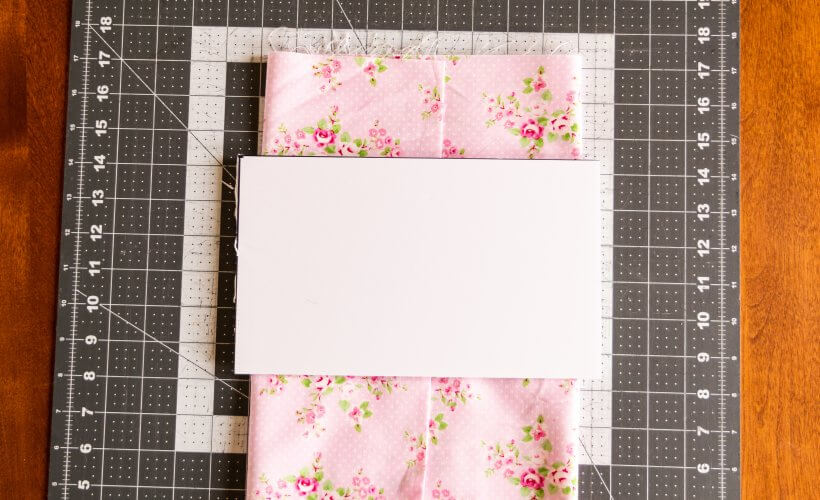
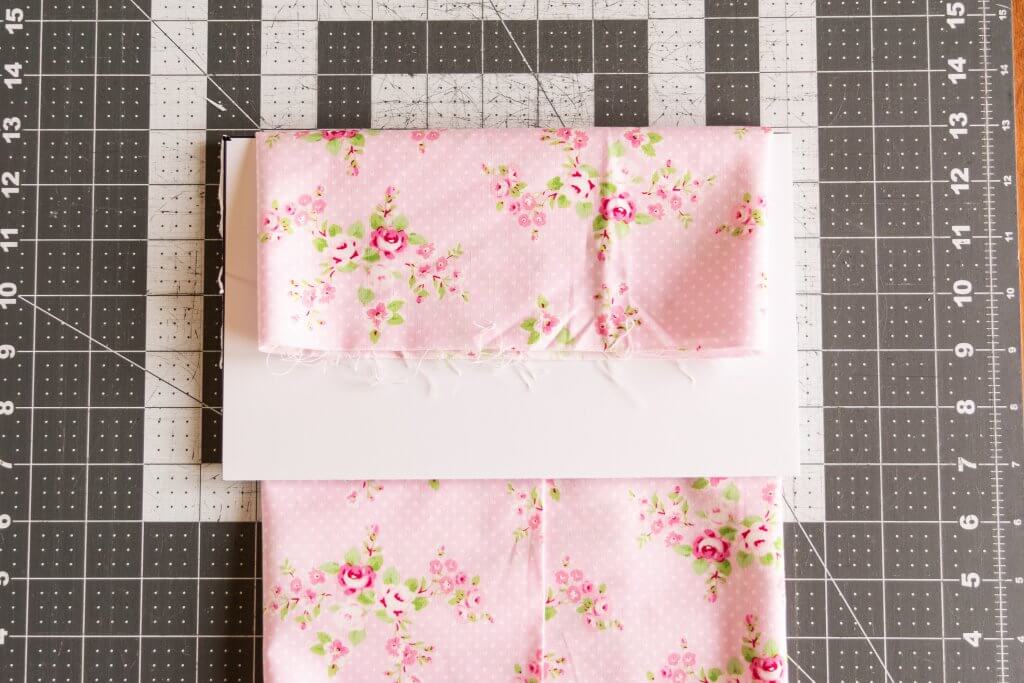
Now, you will take this long piece and wrap it neatly and snugly around your board. start with the end down the center of the board, and begin wrapping, making sure that you keep everything even. This will take a few tries, but after a couple of wraps, you will catch on and it will go very quickly.
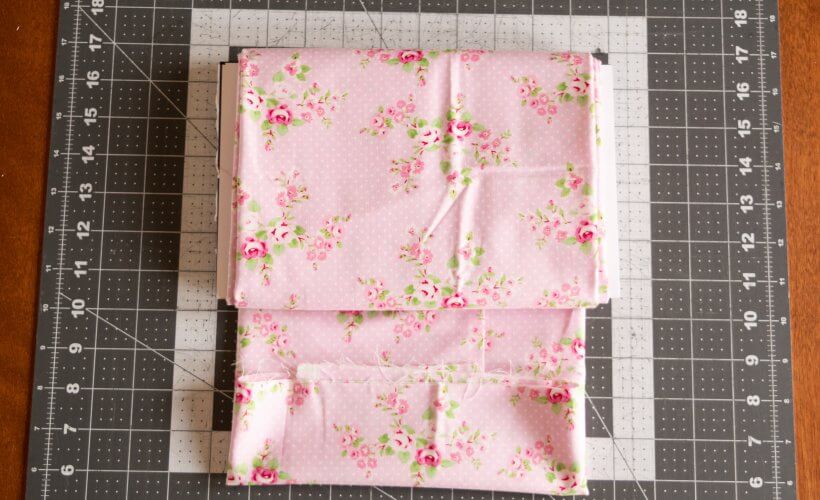
I like to fold in my end about an inch once I have finished wrapping, then slide each board into the shelf with the ends facing me. This makes sliding the boards in and out easier, without fabric end coming out when you remove a board.
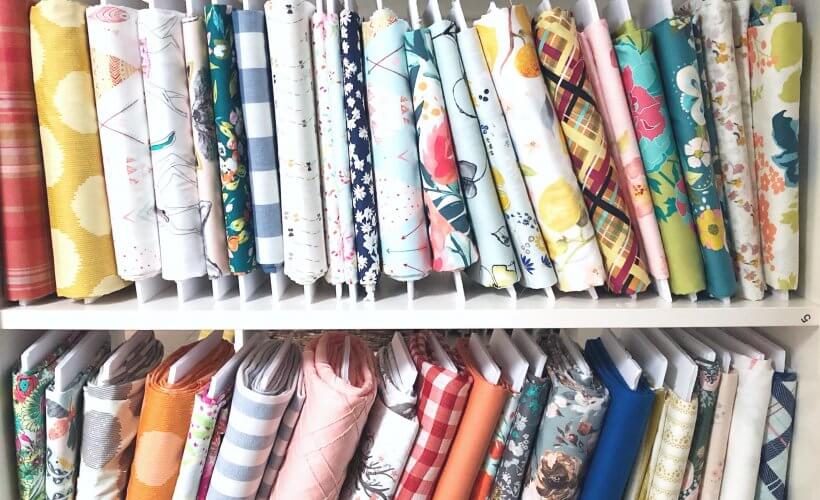
Now, you have these adorable mini-bolts that you can store vertically on a shelf, or even in a drawer, like file folders!
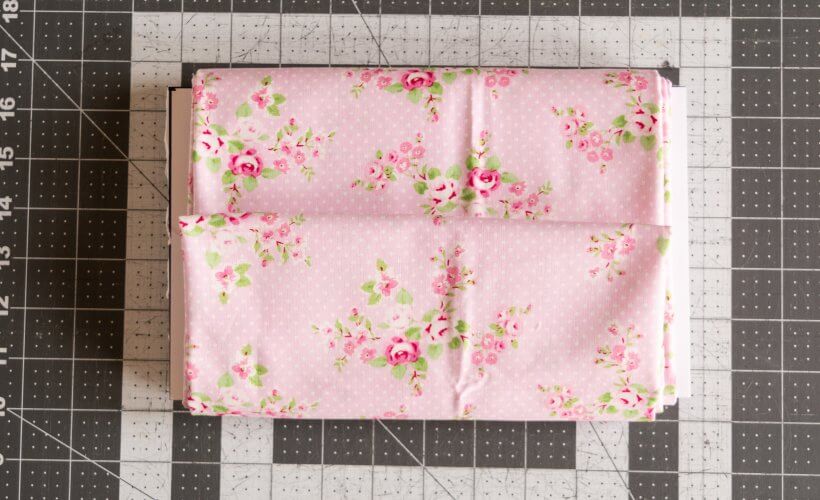
Once you have all of your mini-bolts of fabric finished, the options are endless. You can organize your shelves by fabric type, print scale (florals together, large prints together, ect.), or even by color. I personally have one shelf devoted to my personal favorite fabrics, for my viewing pleasure, and also love to create a color gradient on each shelf, as well.
I hope this little tutorial was helpful and inspiring to you! I encourage you to try it, and just create a space where you can see all of your beautiful collection, and access it more easily. I would LOVE to see your results if you try this method! Please come share your photos and ideas at the Vintage Little Lady Facebook Group! Click the button below to join!
As always, keep those inspiring creations coming, and I look forward to seeing them!
Have a Beautiful Day!

Click to order White Foam Boards (get them cheaper in-store at Walmart for .88 cents a piece, or here is a link to some) https://www.amazon.com/Pacon-Foam-Board-White-Sheets/dp/B074QZMLQF/ref=sr_1_1?keywords=white+foam+board+20+x+30&qid=1556816940&s=books&sr=8-1
Fabrics from tutorial photos: Amberly by Moda (white with blue floral motif) and Charlotte by Tanya Whelan from Free Spirit
