Hand Embroidery Made Easy
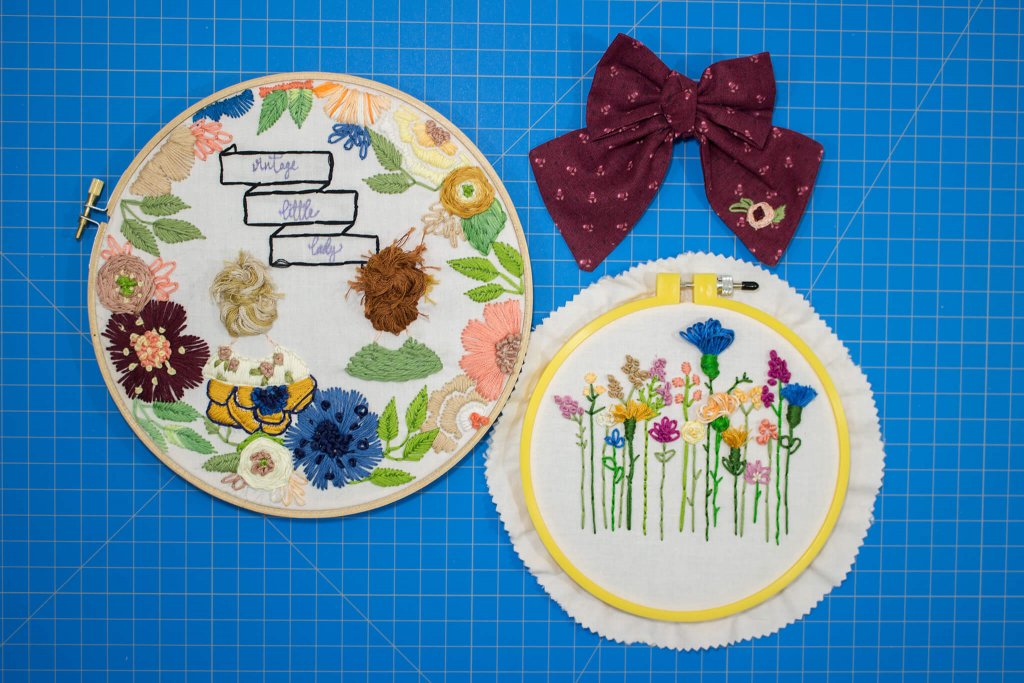
Have you ever sat back scrolling Facebook or Pinterest eyeing others’ pretty makes featuring hand embroidery feeling completely inept? Well… you’re not alone! I, too, have suffered that types of maker’s envy too many times to count. Here is the good news, you don’t have to be artistically inclined to do hand embroidery anymore! In our technology obsessed age, amazingly talented people have created PDF hand embroidery files. YES! You read that right… PDF hand embroidery design patterns. Now, you can take your purchased PDF hand embroidery designs to trace onto fabric and embellish your favorite PDF clothing patterns (such as Vintage Little Lady!). I know you are excited to learn more about this, so grab a drink (coffee is my favorite) and lets get started.
Where To Purchase PDF Embroidery Files

In the world of handmade, we all know Etsy is the most well known place to be and this time is no different. When I decided I was tired of not being able to do hand embroidery because of my perfectionistic (that’s a word… right?) awfulness of drawing the designs I went searching. I scoured Etsy, and found some incredible designs. I am demonstrating three particular designs I found for this blog post. I chose these three because they’re all very fun and different, and show techniques that aren’t done exactly the same in each design.
Shop Number 1: Pumora
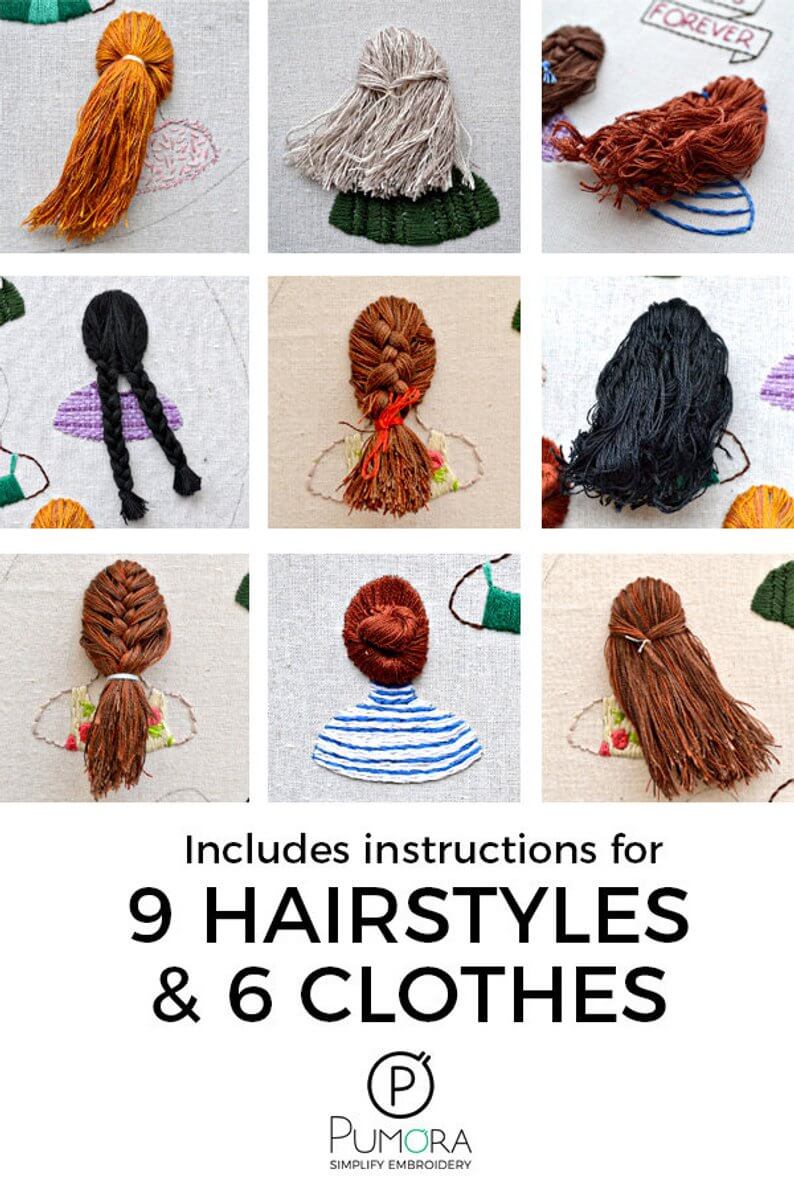
The first one I found is this amazing shop, Pumora. She has the easiest to follow, most instructive tutorials possible. Since she offers some incredibly unique designs, I was thankful for her tutorials because I (of course) fell in love with the most intricate of her designs… the girls’ hair design (shown below). She is an e-learning instructor and currently teaching, so this particular design packet is not available until Monday (May 20th); however, she does have a complete learning e-book bundle featuring these designs. It also contains all the step by step tutorial for all the basic hand embroidery stitches, florals, and leaves. I mean look how cool those are! She gives you step by step directions within the pattern that you purchase, so beginner or veteran sewists can tackle her designs. I thoroughly enjoyed sewing her patterns, and never once felt intimidated (which says a lot because I overthink everything).
Shop Number 2: AndOtherAdventures
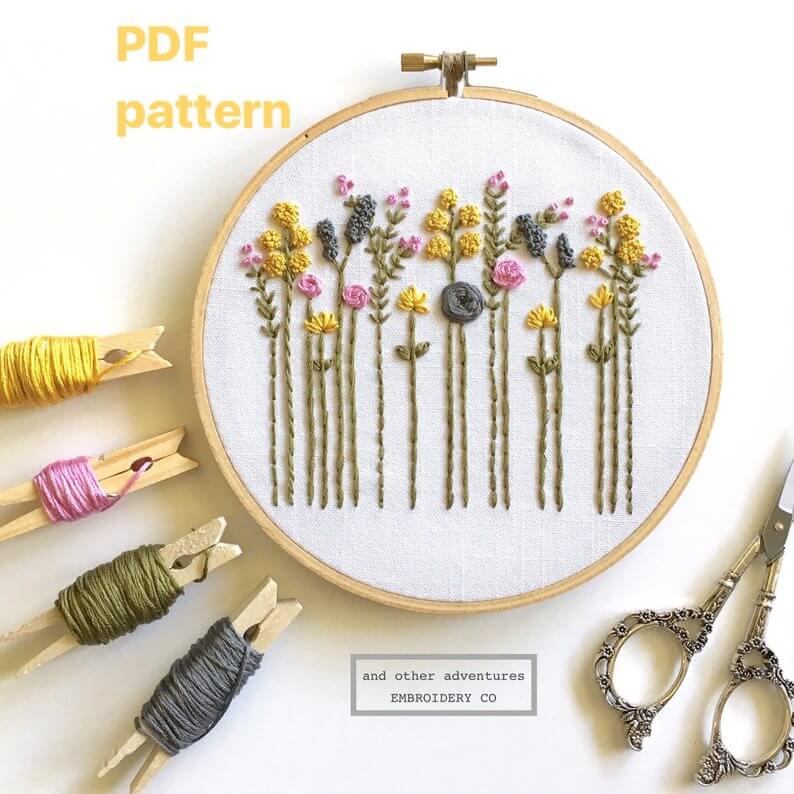
I came across this one while I searched for bold floral designs that would work well on clothing, such as the Bristol bib and pocket. I love embellishing clothing in all types of unique ways, but adding hand embroidery really brings vintage inspired clothing to a whole new level. Look below to see the design I chose from AndOtherAdventures.
Shop Number 3: FloralsandFloss
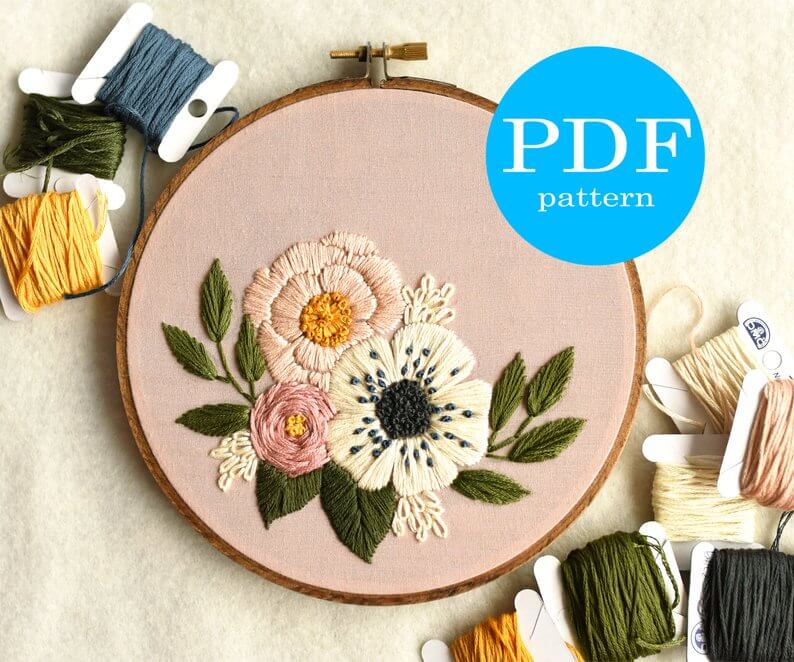
Floralsandfloss stood out to me because of their bold full floral designs. They also offer floral bundles I had never stitched out before, so it seemed like a top notch challenge (we all like to be challenged, right?). The designs offered here are perfect for wall art, bold bodice embellishing and so much more. Below is the design I’ll be showcasing for you all today. If you are looking at the above photo thinking, ‘Lauren gone and lost her dang mind thinking this is for beginners.’; however, I promise that any beginner can tackle this design because of the step by step directions in the tutorials for these designs. I wouldn’t steer you wrong… I too had beginner’s doubts, but I have been sewing these gorgeous designs for weeks nonstop now. How about we move on to how to utilize these beauties?!
Creating Your Own Hand Embroidery
Utilizing these (and other) PDF embroidery design templates is a dream. Seriously, it is easy peasy! I have the world’s shortest attention span (oh! Look, a squirrel! haha), and I have hated hand embroidery… until now! So, how can you get started on loving hand embroidery and taking your Vintage Little Lady clothing to the next level… well I’m going to tell you now!
You will start by purchasing your design(s) from your desired place (links above to purchase from showcased designers). Then you will print out the pattern template. The pattern template was not shown for respectful reasons, but they look like a sketched version of the final versions… they do the hard work for you.
Supplies
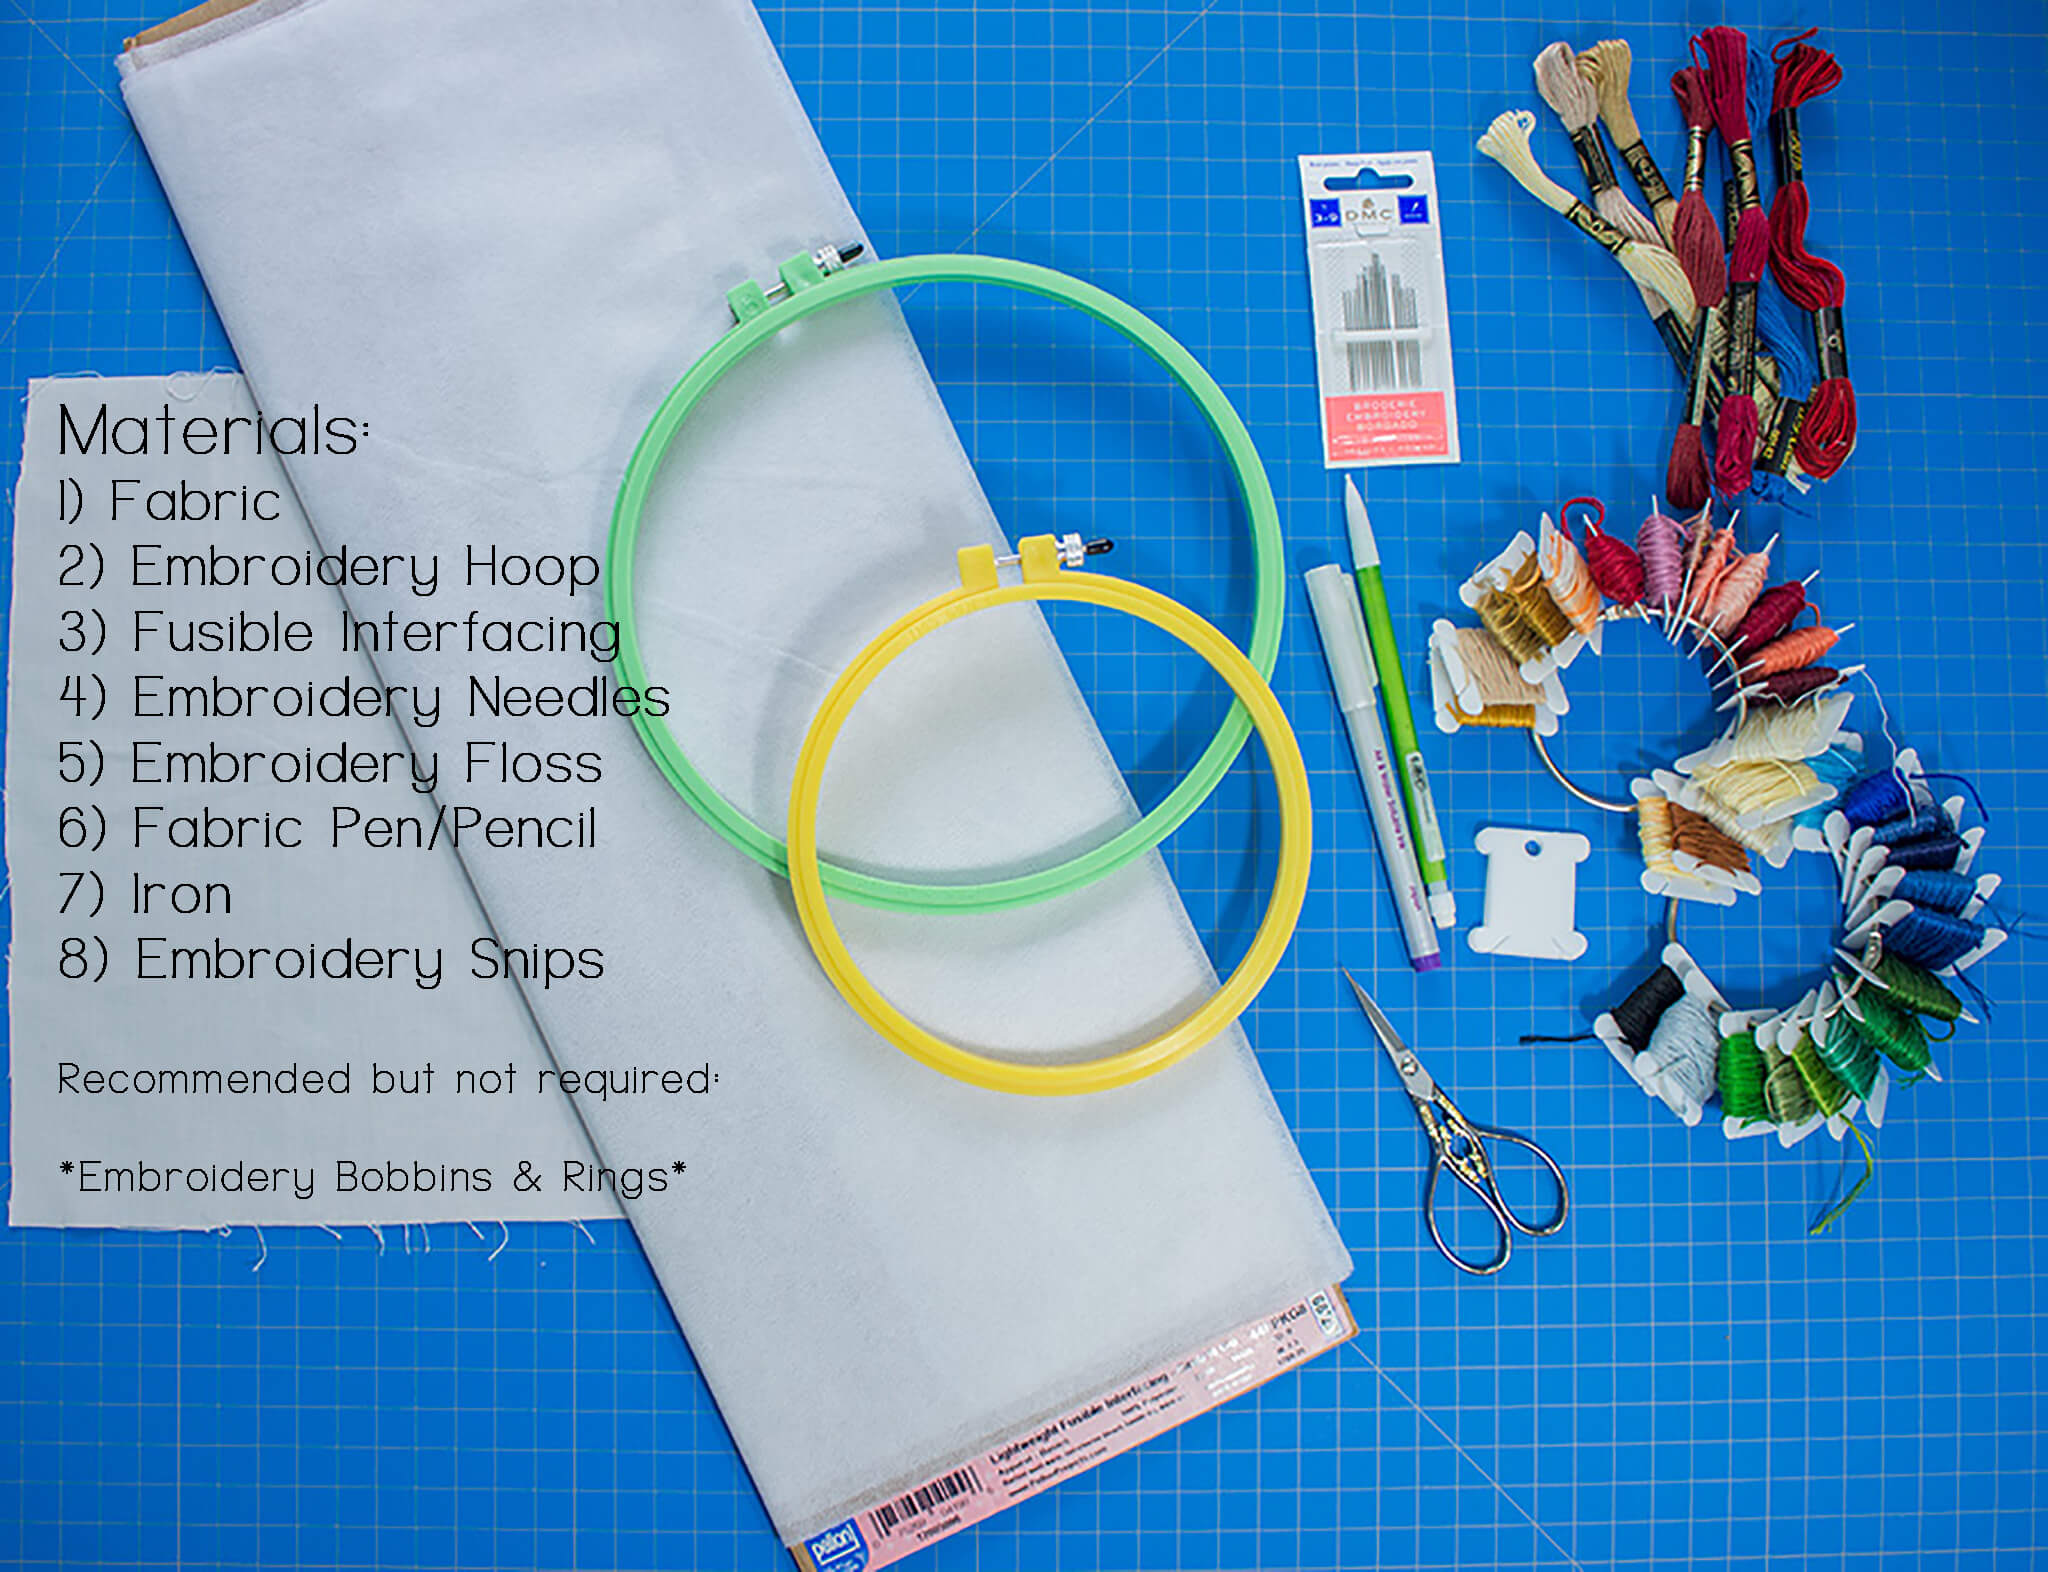
- Fabric of your choice: I used Waverly cotton solids from Walmart
- Embroidery Hoop(s): I show a 6″ plastic hoop & 8″ plastic hoop. Wooden hoops can be purchased too, and make great keepsake framed embroidery art.
- Lightweight Fusible Interfacing: I used a bolt I had on hand, but can be found at Walmart, Joann, or any fabric store.
- Embroidery Needles
- Embroidery Floss: Individual floss can be purchased at Walmart for about $.50, or you can buy bundles, like the 120 color option with Amazon.
- Fabric Pen/Pencil
- Iron (must have the steam function)
- Embroidery Snips: I provided my (current) favorite for embroidery because they are super sharp & smaller for my tiny hands.
- (optional) Embroidery Bobbins
- (optional) Embroidery Bobbin Rings
The above supplies list is what you will need to get started on hand embroidering. I recommend having embroidery rings and bobbins because once you begin unraveling your floss you’ll want to organize it so that you don’t end up with a knotted hot mess. These things are not required though.
Trace Your Design(s) Onto Fabric
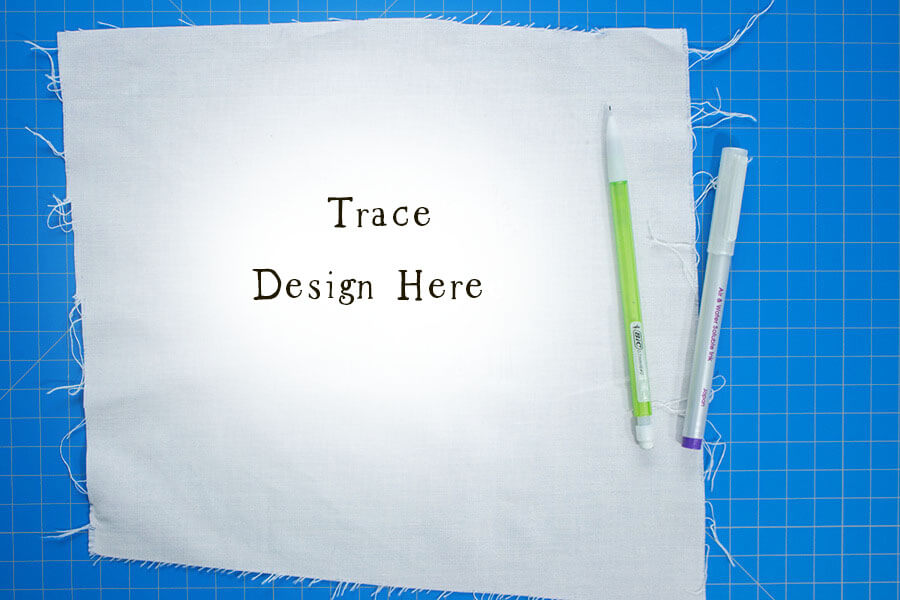
I always recommend a fabric pen/pencil; however, if you follow the design properly none of your lines should show. I am a rebel every chance I can be, so I utilized a regular school pencil because I get annoyed when my disappearing ink disappears. I also suggest tracing prior to backing the interface onto the fabric so that it is easier to see through the fabric to trace. Because of this, I want to warn you that the heat and steam to secure the interfacing may cause your disappearing ink to ghost on you. Once you have successfully transferred your design you are ready to move on.
Steam Press Interfacing to Back of Fabric
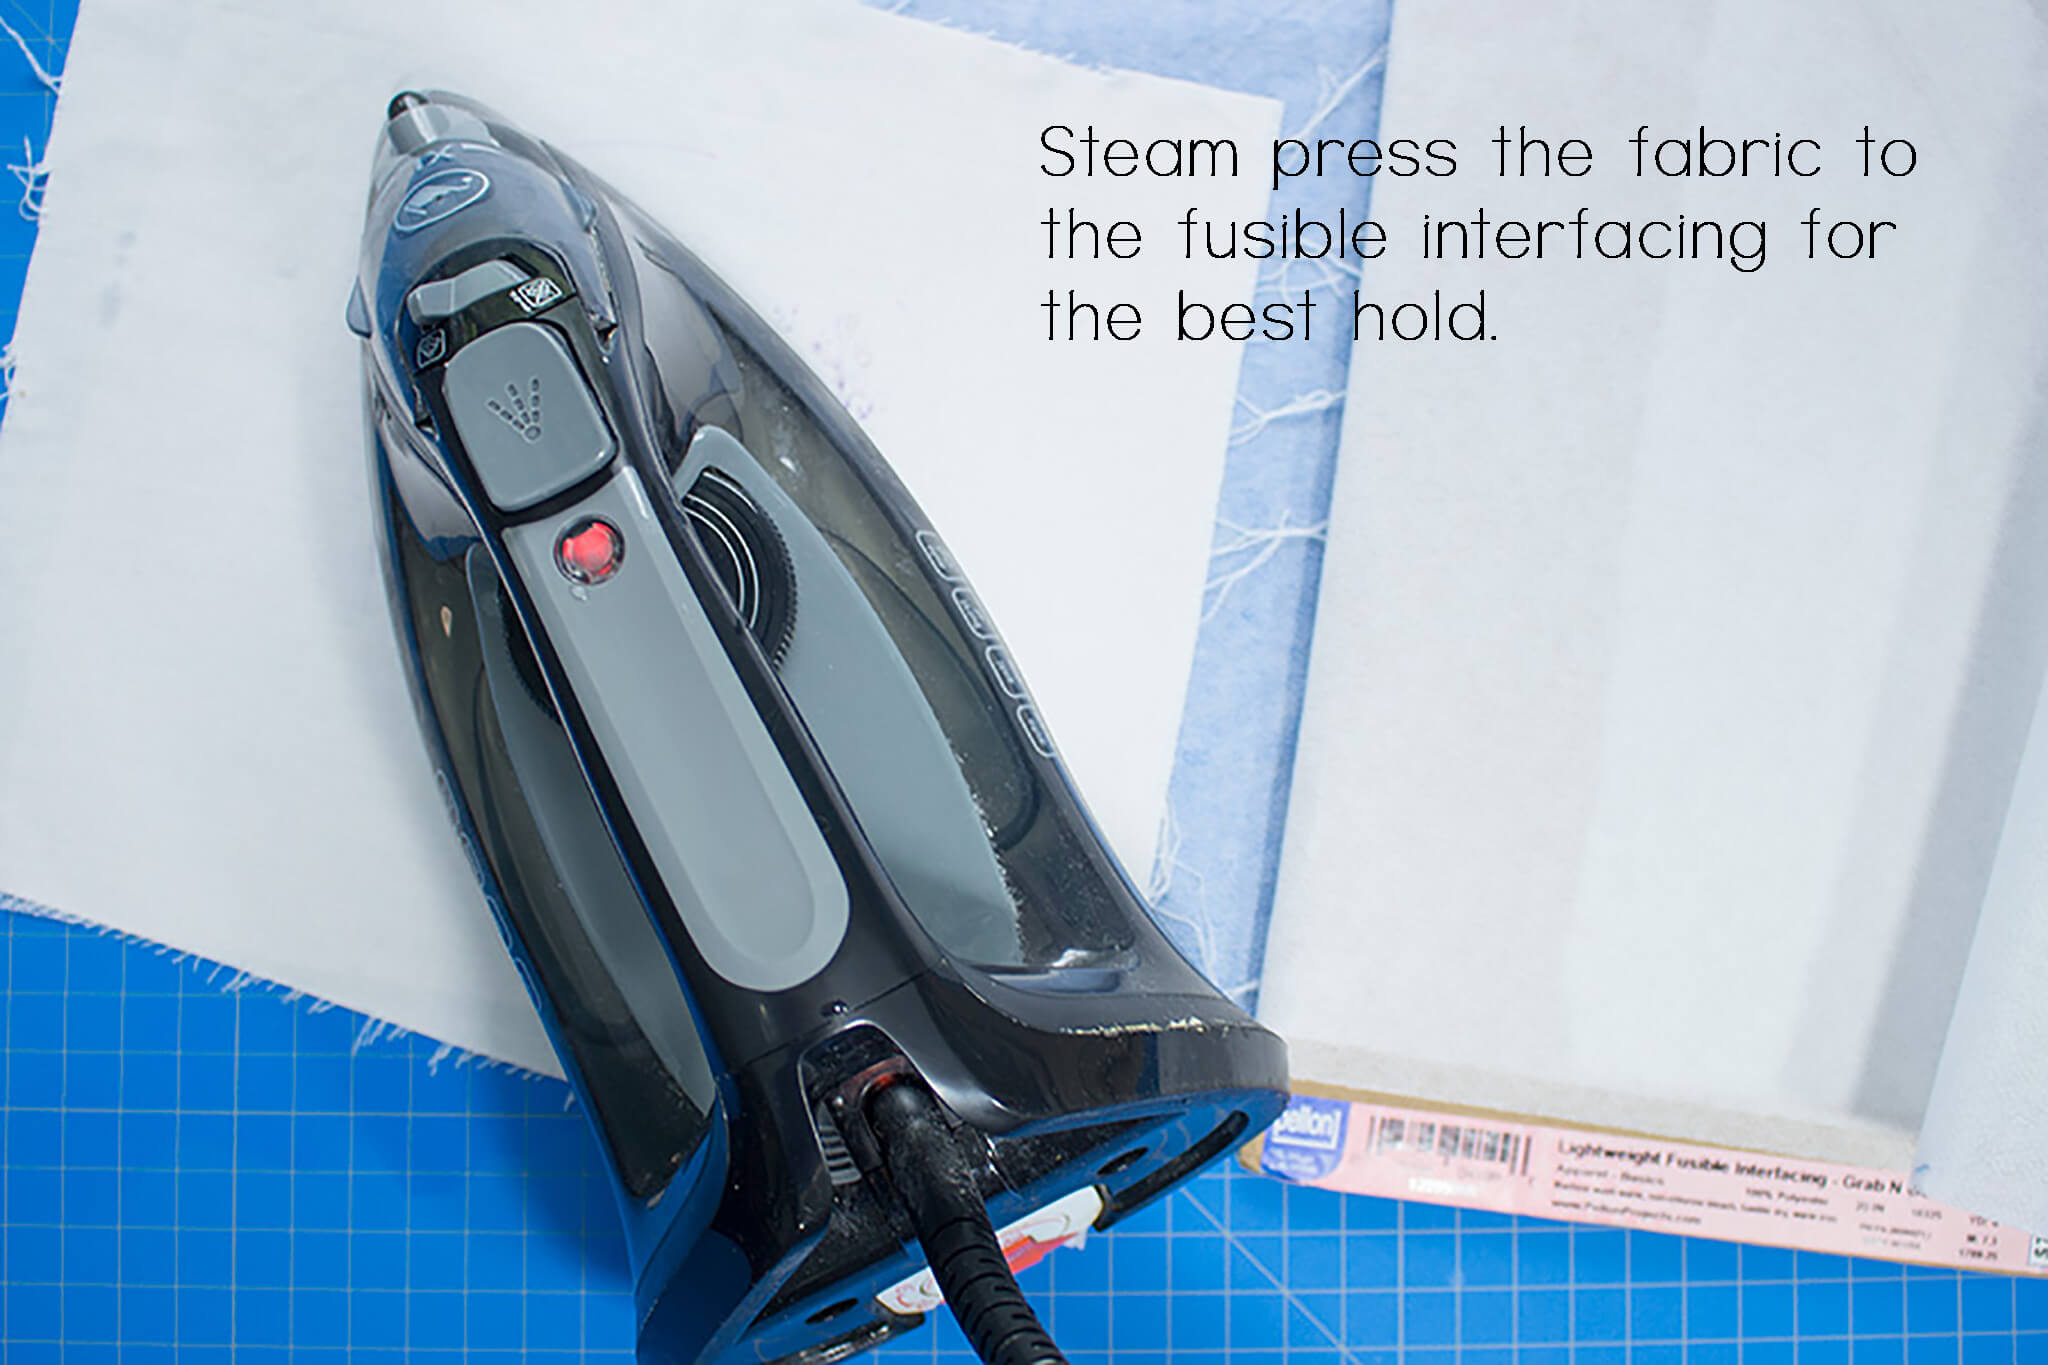
You will want to be sure to hold the iron and press it with lots of steam to activate the fusing ingredient. Make sure you are doing this to the backside of your fabric you wish to embroider. I used a simple solid quilting cotton, so there isn’t really a right side or wrong side; however, if you are embroidering a patterned fabric be sure to attach interfacing to wrong side.
Hoop Fabric
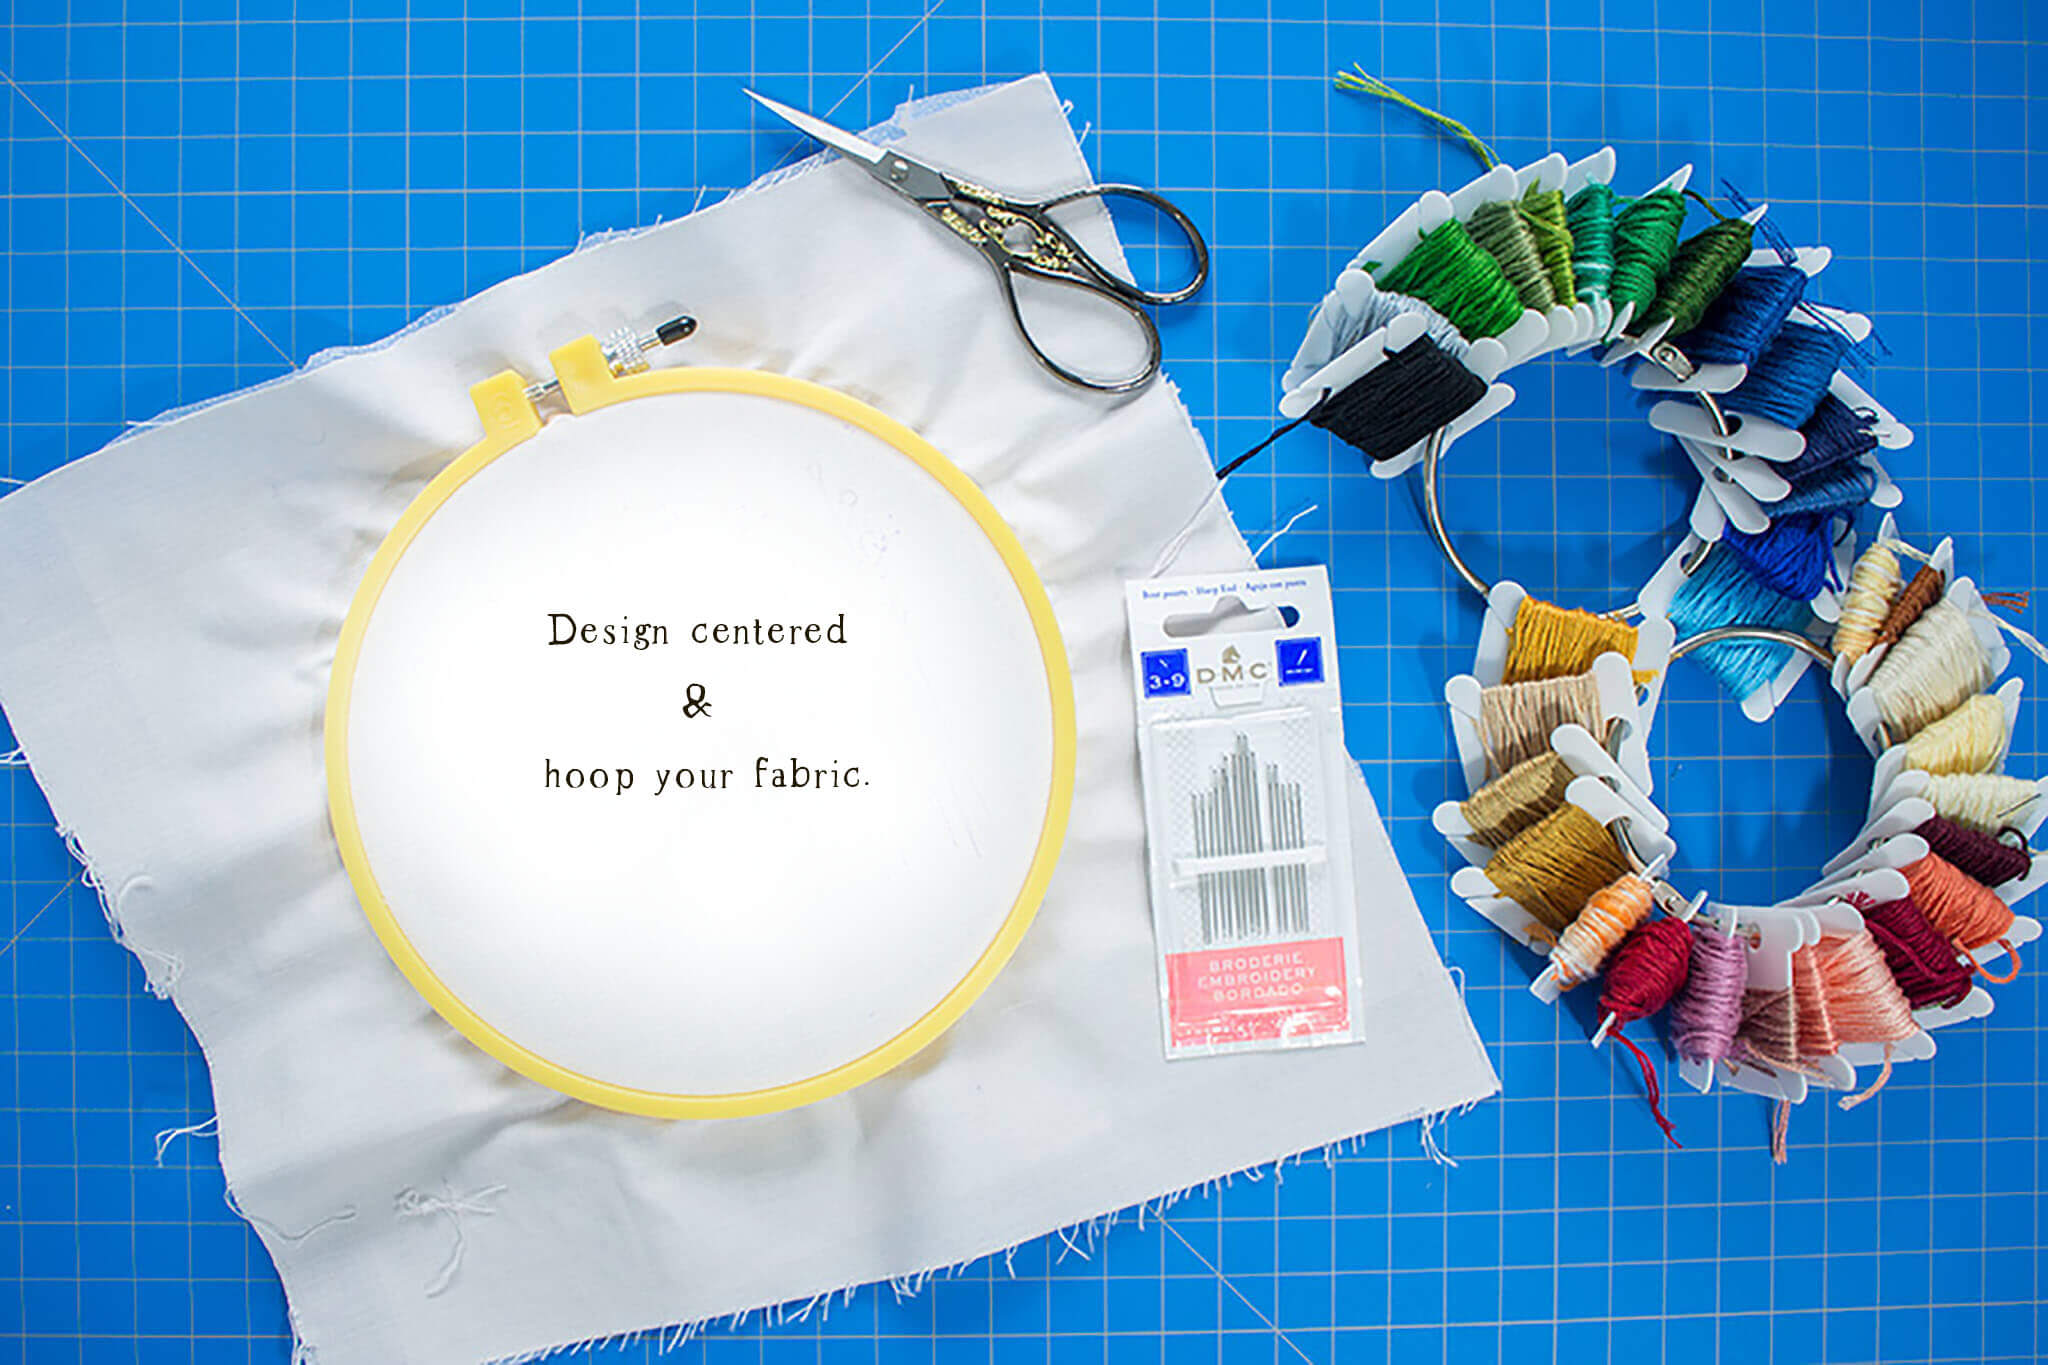
You want to place the larger ring of the hoop face down, lay your fabric on top of that with your design facing down, and then press your smaller hoop piece into that. It is incredibly important that you tighten the hoop as much as you can (without popping the hoop pieces apart from each other), and that your fabric is pulled taut. Your design will not look good if you have wobbly fabric. Having a hoop is very important because when doing embroidery you always want your fabric taut, that way you can easily push the needle through. Now you are ready to start the fun artistic part of this journey. Start embroidering all your fabric!!
How to Utilize Your Embroidery
Clothing Embellishments
The possibilities are truly endless. Your newly finished work(s) of art can be anything. Many people utilize hand embroidery to embellish their clothing pieces, such as Bristol. Bristol has a beautiful full front bib that is perfect to showcase hand embroidery work as the focal piece of the pattern.

Our amazing tester, Katie, utilized the bib for that exact thing. We absolutely are stunned by the beauty her artwork gives this top. Others choose to utilize the art they create to show off on pockets. Another of our incredibly talented testers, Richelle, made these pockets standout in all the best ways (see below).
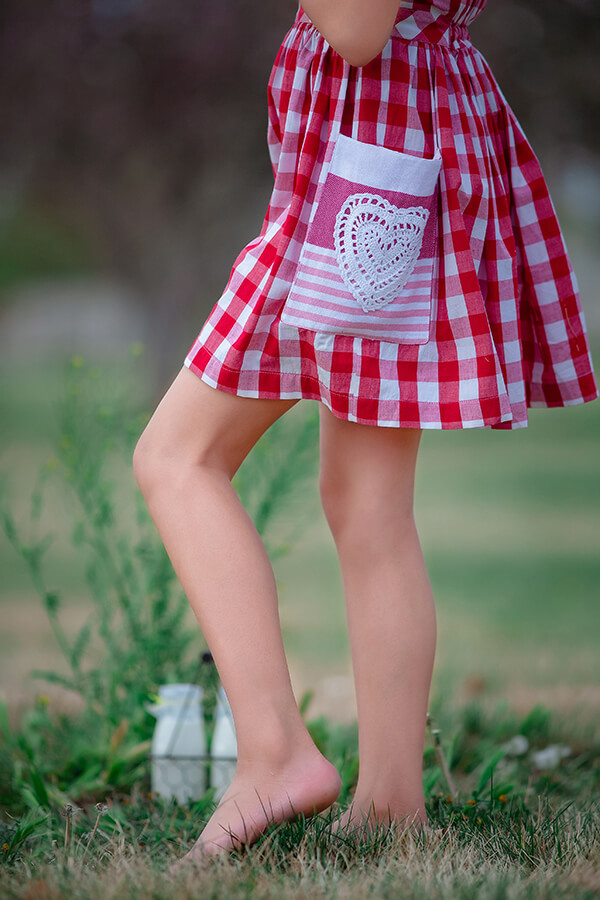
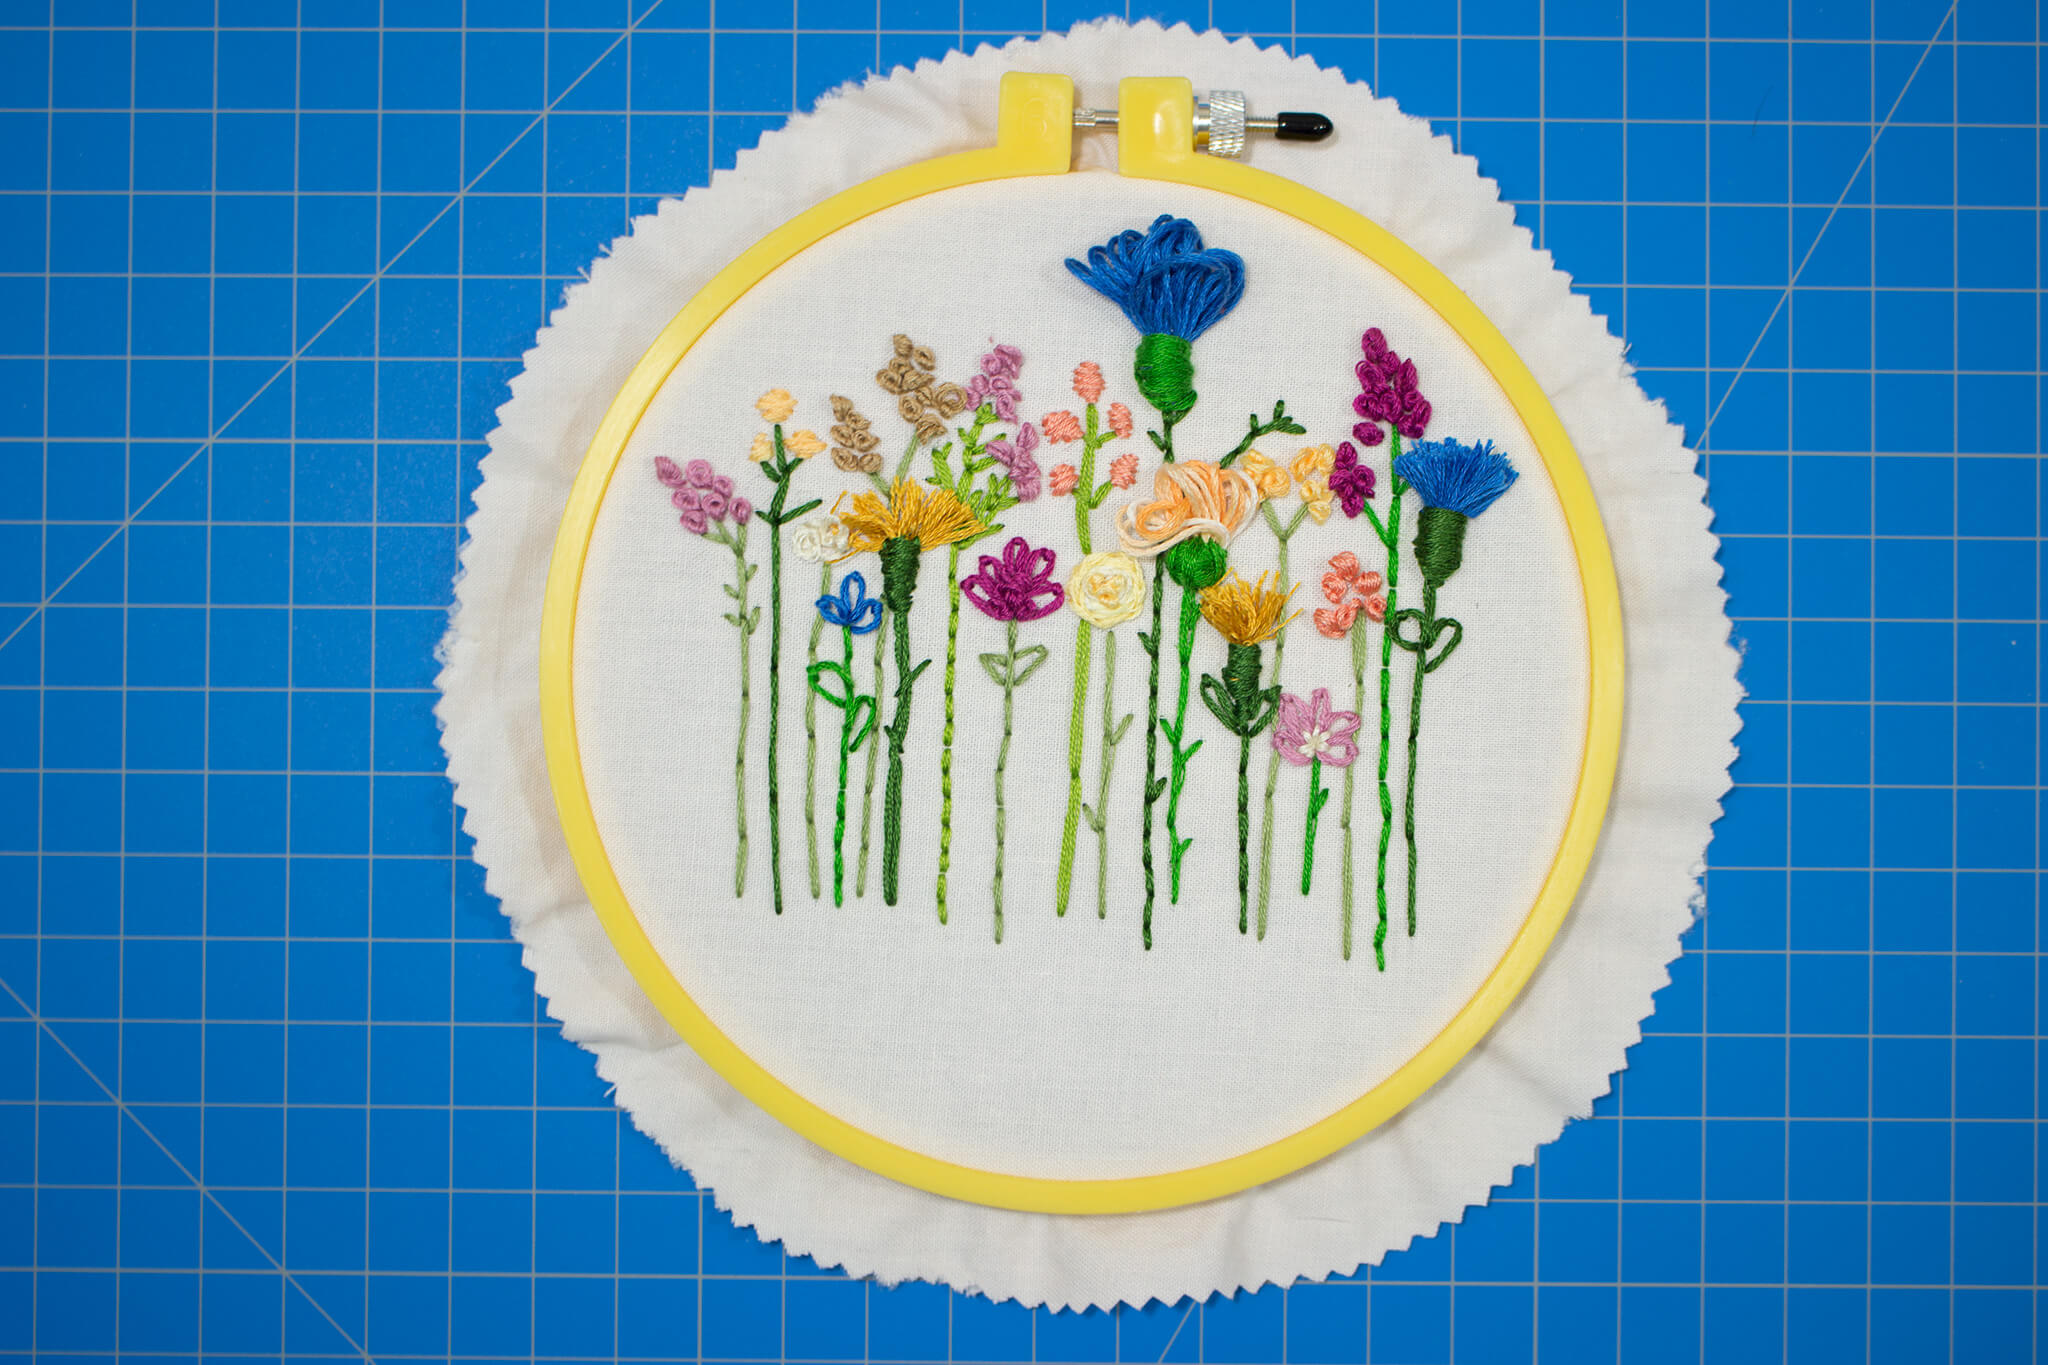
While it wasn’t done with hand embroidery, you can see how it is perfect for embellishing. Below is hand embroidery that I completed that would be perfect for those big rectangular pockets!!
Bow Embellishing
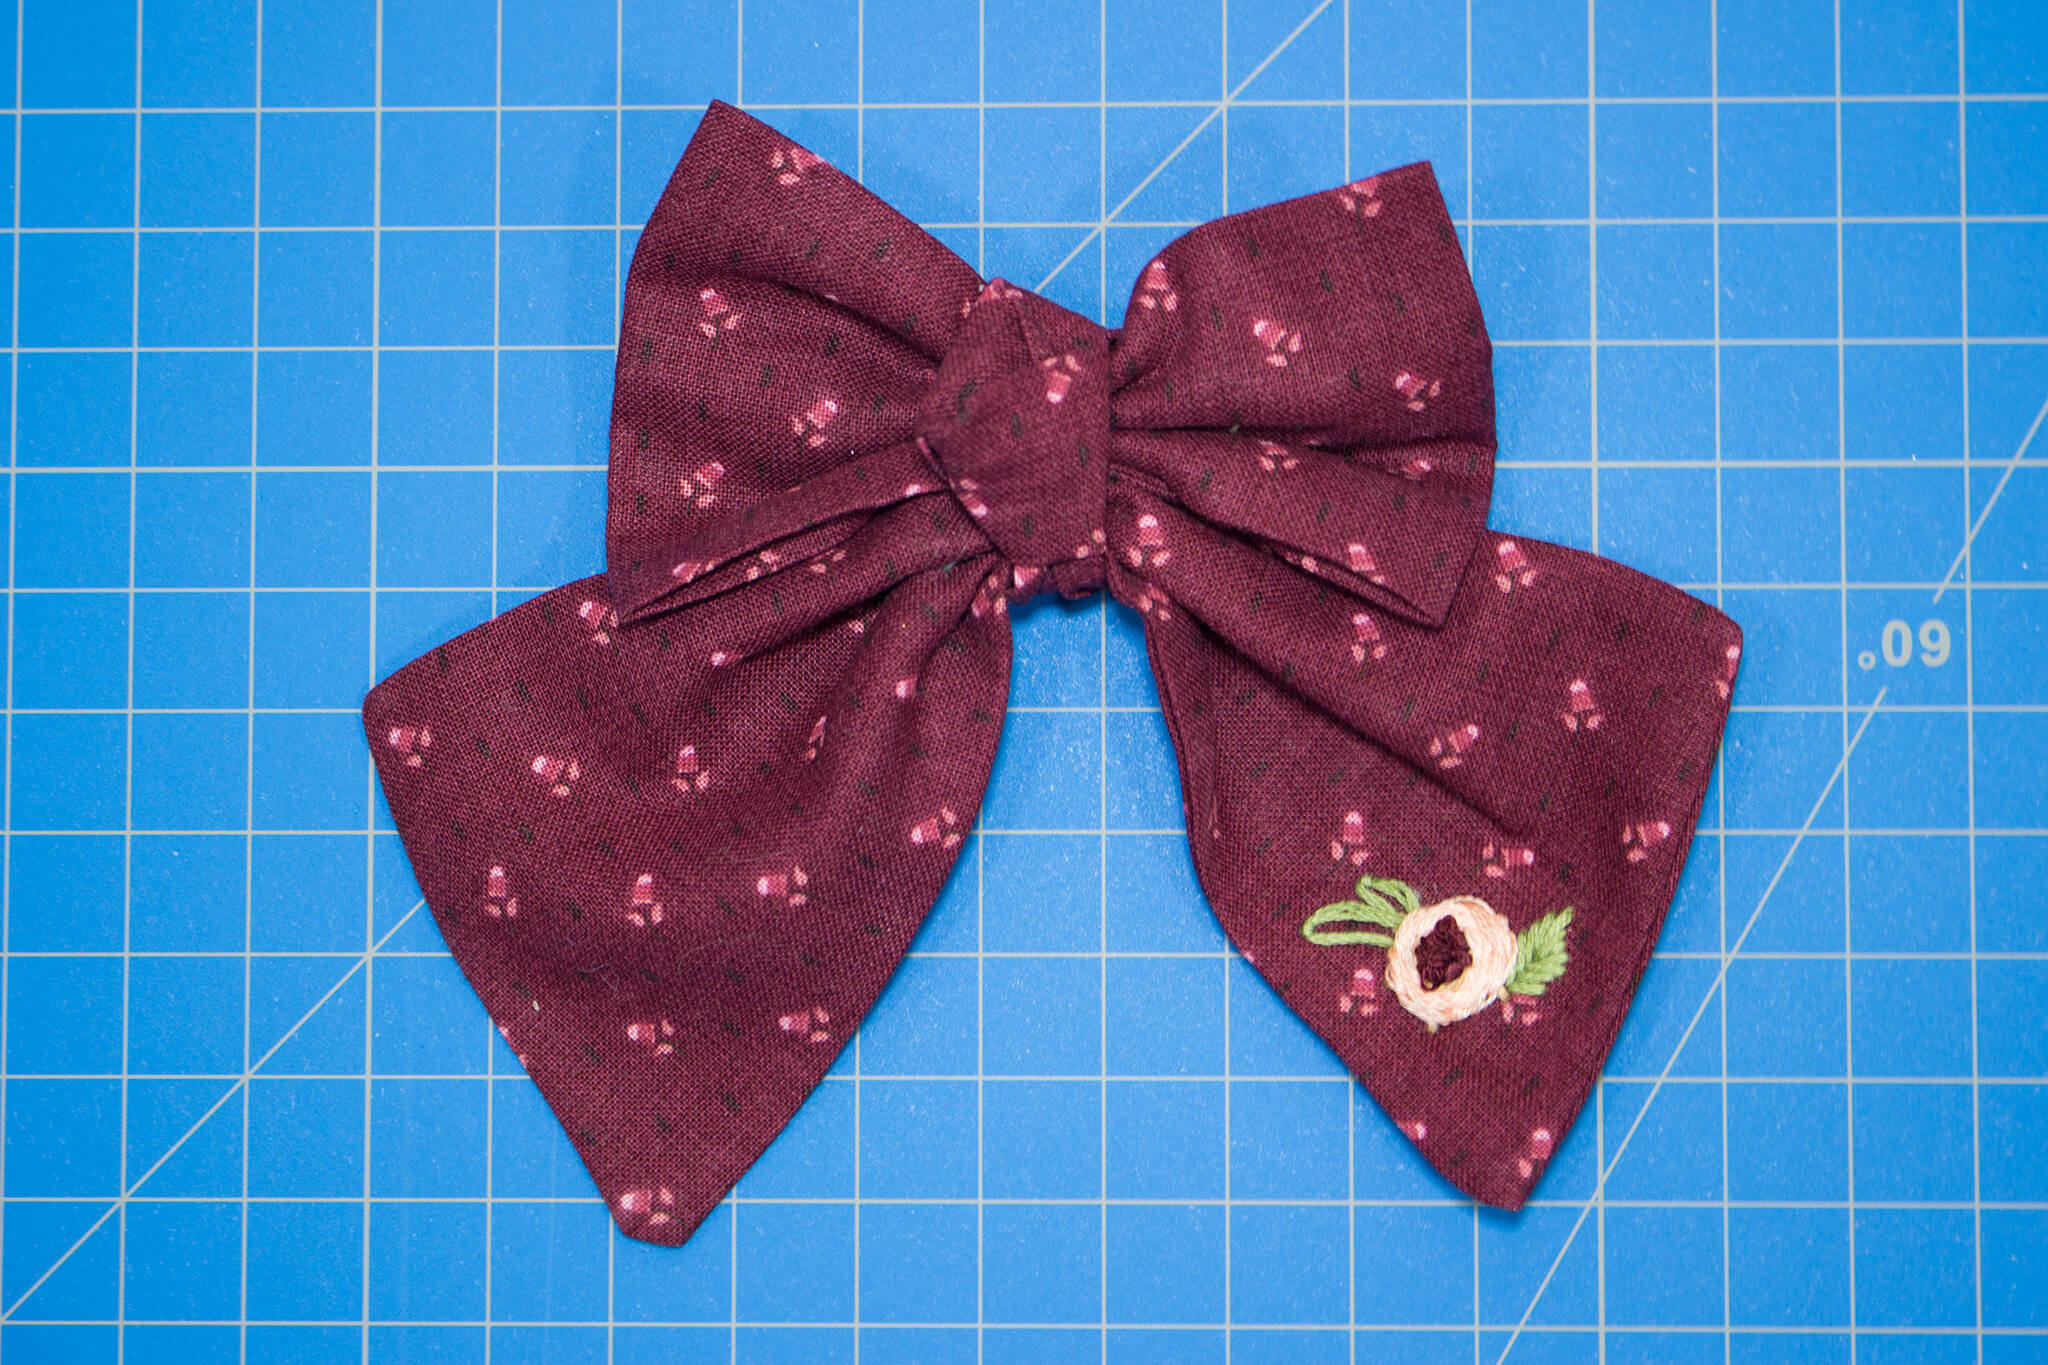
Lets not forget our favorite bow pattern, Opal Bow!! The bow is adorable on its own; however, adding a small hand embroidery design like I did above really adds a unique touch to it. I just love seeing hand embroidered bows because they truly are works of art. It is also a fabulous starting point for you beginners. If you are worried about ruining fabric scraps, then try it out on some bow tails.
Wall Art
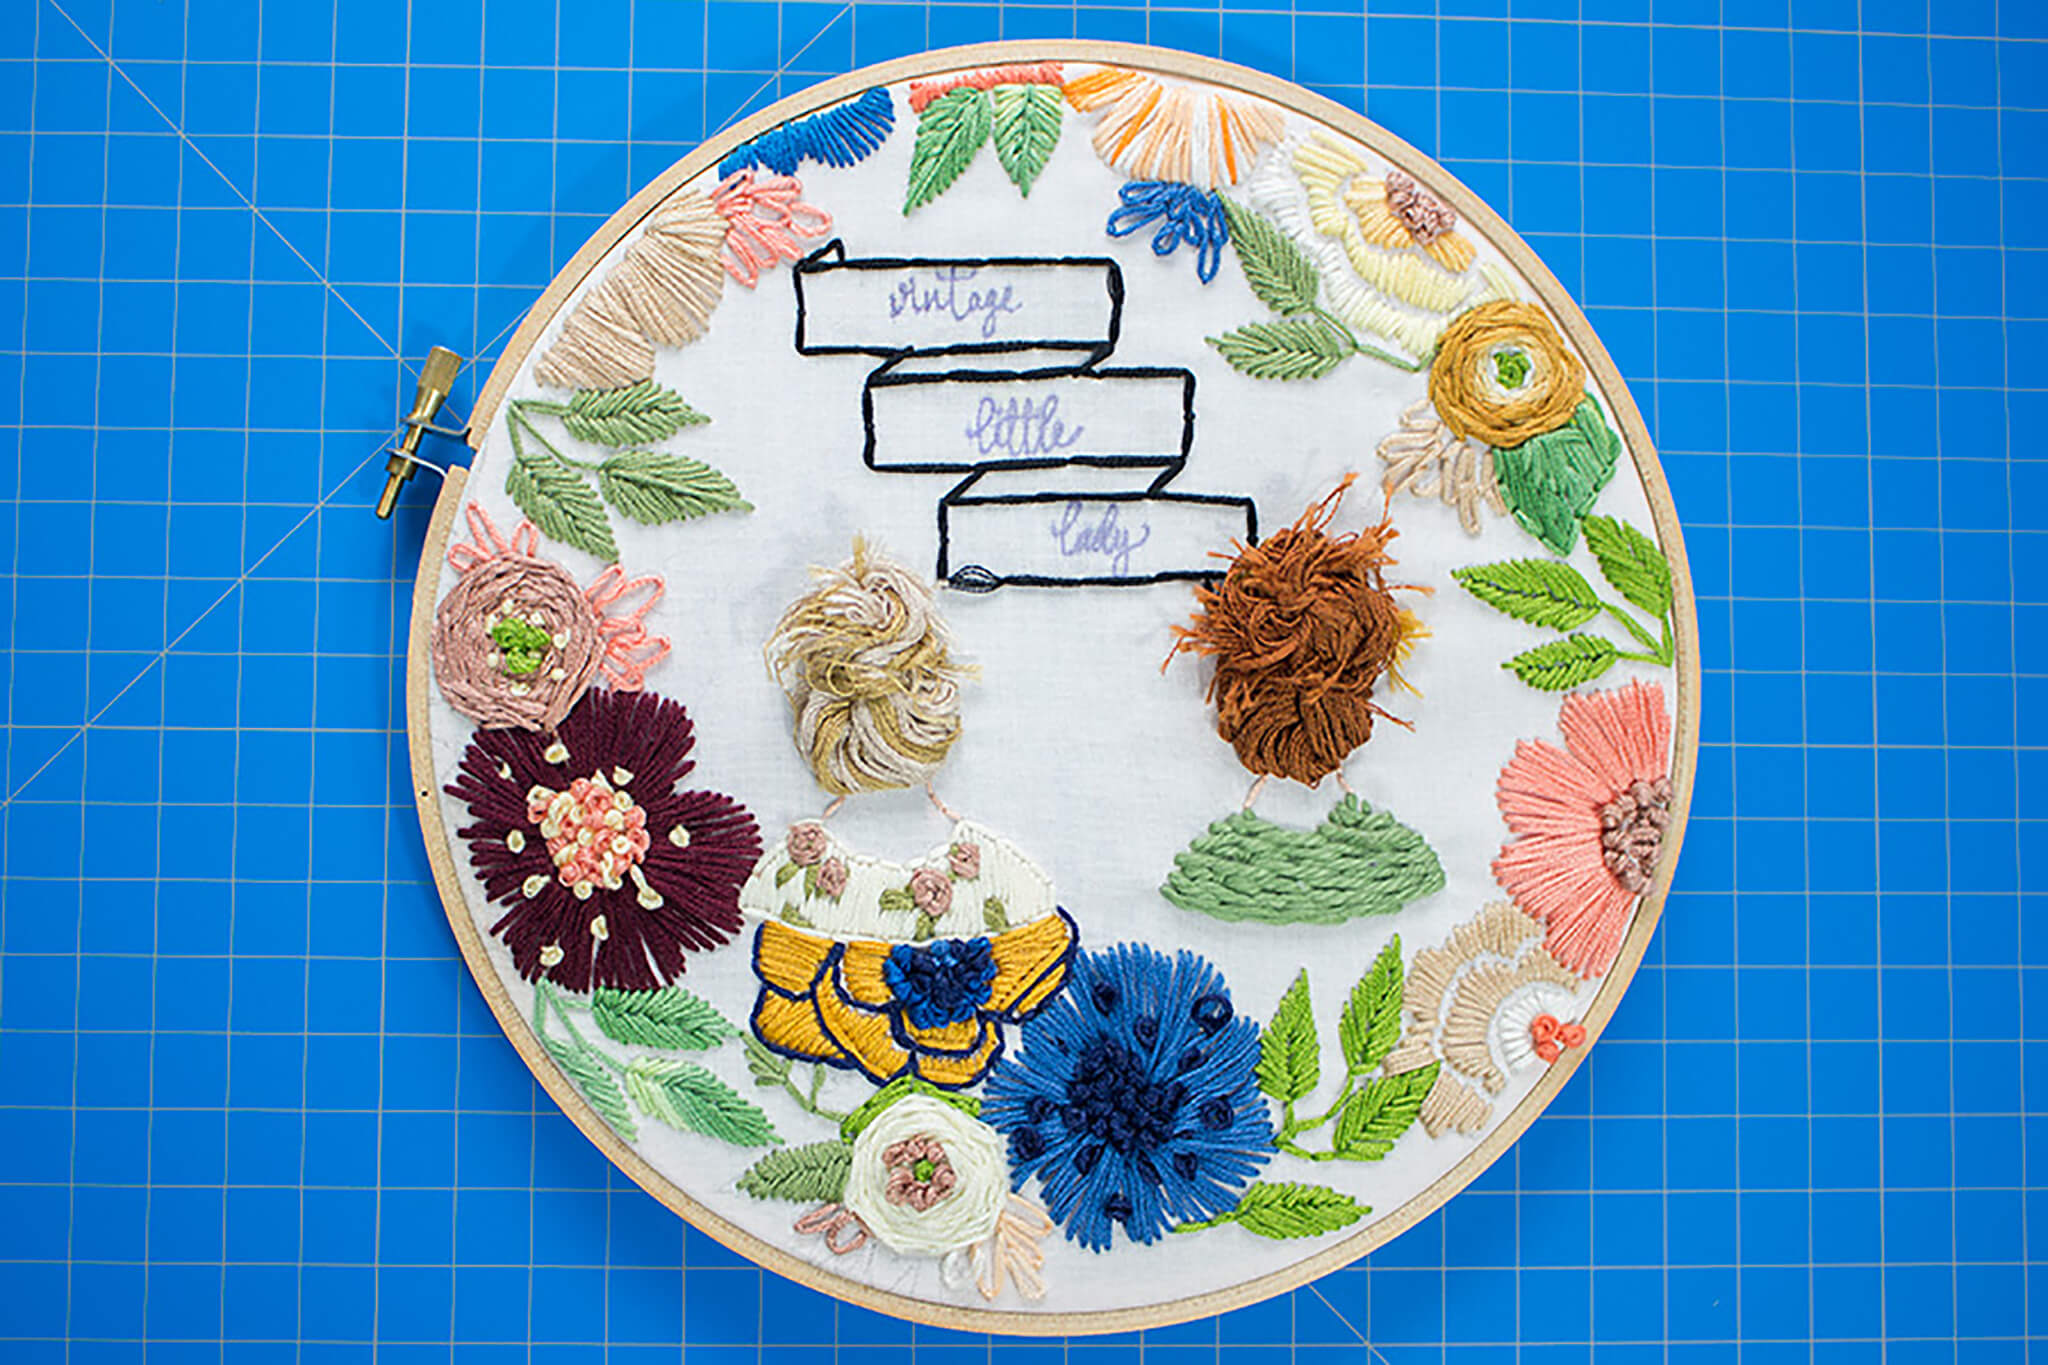
Sometimes when you create something, especially something as time consuming and passion fueled as hand embroidery, you just need to hang it up on a wall for all to admire. This was my first ever, yes!, this is the first finished hand embroidery I have ever done. I decided this needed to be showcased on a wall instead of being sewn onto clothing. If you search the internet, you will find all types of inspiration for hand embroidery.
Go Be Artistic With Threads
I first want to thank you for hanging with me through this blog post (I know it was a lengthy one). Now that you’ve seen this, I hope you won’t feel the need to envy others because you’ll be busy creating your own masterpieces. I know I can’t stop embroidering now that I have gotten hooked. I look forward to seeing your artwork showcased in all forms. This is also a wonderful art form that can be taught to your little ones whom may not be ready to learn true machine sewing just yet. With summer vacation almost here, maybe it will give them something to occupy those ‘I’m bored.’ moments.
Happy Sewing!!
XOXO,
